Canon PIXMA MX340 Series Network Setup Manual - Page 12

Browse online or download pdf Network Setup Manual for All in One Printer Canon PIXMA MX340 Series. Canon PIXMA MX340 Series 26 pages. Cartridge reset
Also for Canon PIXMA MX340 Series: Installation Manual (17 pages), Install Manual (11 pages), Brochure (2 pages), Manual (8 pages), Manual (10 pages), Network Setup Troubleshooting (13 pages), Network Installation Manual (16 pages), Connection Manual (11 pages), Simplified Service Manual (35 pages), Manual (4 pages)
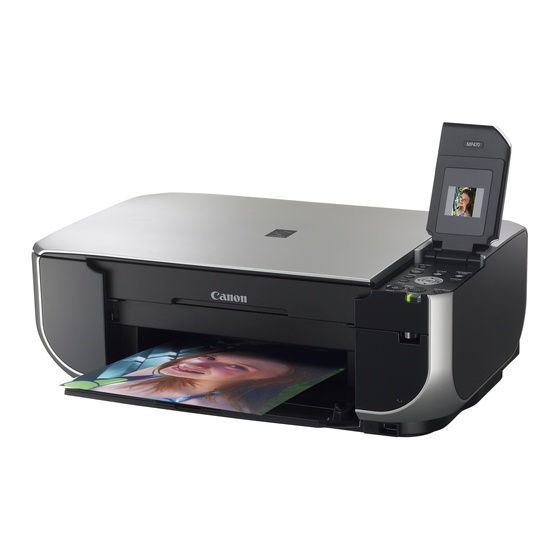
Canon PIXMA MX340 Series Network Setup Manual

Connection Checklist

Check
Check 1
Before connecting the machine, are the computer and network device (router, access point, etc.) configured and can the computer connect to the network?
Configure the computer and network device.
For the procedures, refer to the manuals supplied with the computer and network device, or contact their manufacturers.
Check 2
Are the machine and network device (router, access point, etc.) turned on?
Turn on each device.
If the machine is already turned on, turn it off, then turn it back on.
Check 3
Is the Wireless LAN setup cable connected properly?
The Wireless LAN setup cable is required for network settings when configuring wireless settings without using the WPS or WCN function.
Connect the Wireless LAN setup cable properly.
For the connection procedure, refer to "Install the Software (2)" on page 36 in the printed manual: Getting Started.
Check 4
Is the firewall function of your security software active?
A message may appear on the computer monitor warning that Canon software is attempting to access the network.
If the warning message appears, set the security software to always allow access.
Check 5
Is the Wi-Fi lamp (A) lit blue?
Select Device settings using the Menu button, then using the [, ] and OK buttons, select LAN settings > WLAN active/inactive >
Wireless LAN active to enable wireless LAN.
After enabling wireless LAN, perform setup again by following the procedures in "10 Set Up a Wireless Connection" on page 34 and onward in the printed
manual: Getting Started.
A