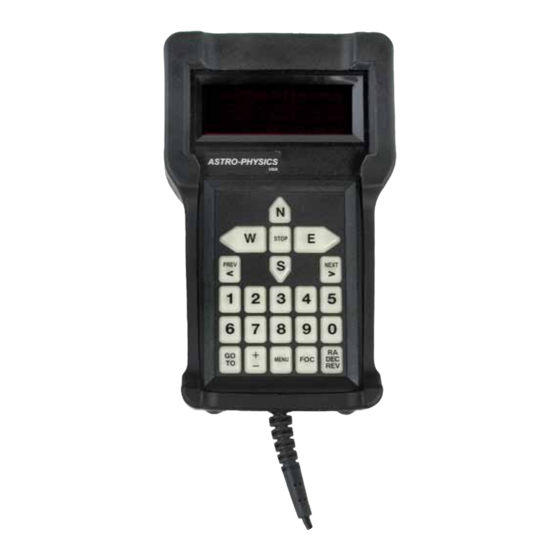
ASTRO-PHYSICS 1568GTO Maintenance Instructions Manual - Page 5
Browse online or download pdf Maintenance Instructions Manual for Keypad ASTRO-PHYSICS 1568GTO. ASTRO-PHYSICS 1568GTO 17 pages.

oPening and Closing YouR gto KeYPad
for all keypads
Please note that photos show the inside of a keypad with serial # 1568gto or higher. earlier keypads
will look different on the inside, but the procedure for opening and closing the keypad is the same.
Warranty considerations: the manufacturer warrants the astro-Physics gto Keypad for three years. if your keypad
is still within the warranty period, you may void the warranty by opening the keypad. if you are unsure of the keypad's
purchase date, jot down the serial number and call astro-Physics.
opening the Keypad
Remove the KeYPRo silicone-rubber keypad protector. for
instructions, see the previous document.
1. lay your keypad face down on your work surface. You will need
a Phillips screwdriver, size #0. locate the six screws that hold the
two halves of the keypad together (arrows at right).
2. Partially remove the screws. be careful not to strip the screw
heads. the screws do not need to be removed completely.
Just back them out until you feel that they are no longer
engaged.
Be very careful separating the front and back of the
keypad. In particular, pay attention to the cable strain
relief, and be careful that the display circuit board does not
catch on the screws. The display should remain with the
front half of the keypad. Also, see note below on spacers.
3. open and place the back case cover along the side without
straining the speaker wires. You may leave the speaker wires
plugged in.
be careful not to lose the six
spacer washers. some may
stick to the circuit board instead
of staying on the screws. it is
best to place the spacers onto
the screws right away. this will
keep you from losing them, and
it makes lining things up easier
when reassembling.
these spacers are vital for
maintaining separation between
components, and to avoid dam-
age to the case.
do not omit!
4
