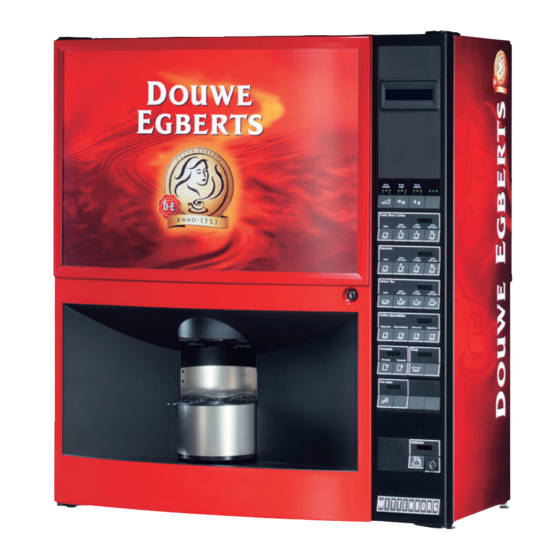
Douwe Egberts Cafitesse 3000 Quick Reference Manual - Page 4
Browse online or download pdf Quick Reference Manual for Coffee Maker Douwe Egberts Cafitesse 3000. Douwe Egberts Cafitesse 3000 6 pages.

Weekly Cleaning (continued)
Distributor block
a
• Remove the hot water hose (10a) from distributor
c
block (10b) .
• Rotate the wing head screw (10c) a quarter to the
left.
• Remove the distributor block (10b) .
Cup catcher plate
• Clean cup catcher plate (11a) and cup guides (11b)
b
with a damp cloth.
10
Cup carrier
• Swing out cup carrier (12) .
• Remove, clean and relocate the cup grid (12) (see
daily cleaning).
a
The pot grid
• Remove the complete pot grid (13a) from inside of
door by turning its handle out of its engagement
and clean it.
• Wipe clean steel drip plate (13b) with damp cloth.
b
11
Drip tray and bucket
• Empty and clean drip tray and bucket (14) (see
daily cleaning).
Cleaning inside and outside
• Clean the instant container shelf, the sensors of
the drip tray and the bucket with a clean, damp
cloth and wipe dry (15) .
• Clean the door and housing inside and outside,
and finally the bottom with a clean, damp cloth.
• Flush all parts, which have been soaking,
thoroughly with clean and warm water.
12
Check that no dirt or cleaning agent remains
on the parts.
• Dry all parts with a dry cloth.
Mounting the cleaned parts
• Remount all parts and relocate canisters.
a
Check that the outlet spouts of the ingredient
canisters (16) are turned back in place, and
that the bucket and drip tray with sensors are
b
well positioned.
13
14
8
15
16
(see overleaf)
Daily Cleaning (continued)
Drip tray and bucket
• Remove the drip tray (8) , empty it, clean it in hot
water and dry it.
• Take out the bucket (8) , empty it and wipe it off
with a damp cloth.
Cleaning inside and outside
• Clean the door and housing inside and outside,
and finally the bottom with a clean, damp cloth
(9) .
8
Mounting the cleaned parts
• Remount all parts.
• Switch the main switch of the machine ON (10a) .
• Push the rinse button at the lower part (10b) .
After a few seconds the display shows that the
machine is now in rinsing/cleaning mode.
• Close the doors.
• Swing the cup carrier out and place a pot (min.
1.5 l) on the pot platform (11) .
• Press the selection button "Coffee with sugar".
The display shows "Machine Rinse" and the
9
trough of the coffee vending unit and mixer
systems will now be rinsed with hot water.
• Afterwards press the selection button "coffee with
sugar" once more for initialising a second rinsing
process.
• Remove and empty the pot.
• Open the left door.
• Push the rinse button at the lower part again
(10b) to leave the rinse mode.
• Close the left door.
• Swing cup carrier back in place.
• Clean the machine with a damp cloth on the
outside (12) .
• Perform a test dispensing.
a
There is the risk of being scalded by hot
water. Observe the safety precautions in
the operating instructions.
b
10
6
11
Rinsing
12
Last check
