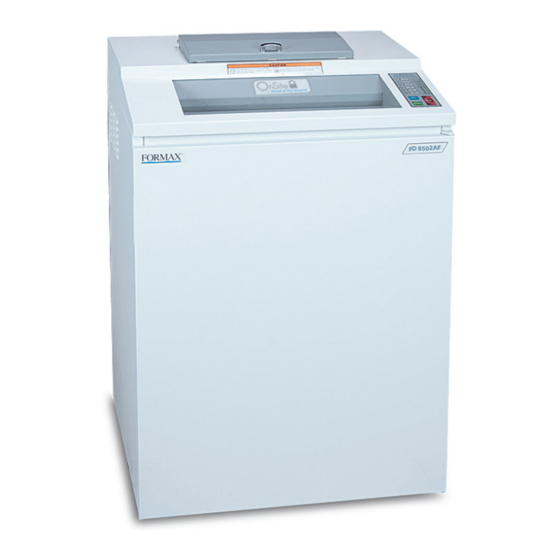
Formax FD 8502AF Maintenance Manual - Page 8
Browse online or download pdf Maintenance Manual for Paper Shredder Formax FD 8502AF. Formax FD 8502AF 19 pages. Autofeed shredder
Also for Formax FD 8502AF: Operator's Manual (2 pages)

Daily Maintenance
• Disconnect power by removing the power cord plug from wall outlet.
• To clean the exterior, wipe the surface with a soft cloth. If the surface is very dirty, use a neutral detergent, then wipe
again with a soft cloth.
CAUTION:
• Never put water directly on the surface of the shredder.
• Never clean the case with benzene or thinner, since it will cause discoloration.
• Do not dismantle the shredder. Contact your Formax Dealer for service.
Auto Cleaning Function
Use the Auto Cleaning function when sheet capacity is decreased.
1. Prior to using the Auto Cleaning function, spread shredder oil onto the cutters through the feed opening, and allow the
oil to sit for a few minutes to permeate the cutting blades.
2. Press the REV button and hold for five seconds. Manual and Rev LED indicators on control panel will light.
3. The shredder will operate in reverse for one minute, then the Auto LED will light.
Sensor Sensitivity Recovery Function
Over time, the shredder photo eye may lose its sensitivity. Use the following steps to reset the sensor's sensitivity.
1. If the sensor cannot detect paper:
• Press the Stop button for five seconds.
2. If the shredder is operating without paper in the feed opening:
• Press stop, then insert paper into the feed opening and press the Stop button for five seconds.
After following either of these steps, all LED lamps should be off, and the shredder will make a beep sound. Sensitivity is
recovered and the shredder is ready to operate. Follow instructions under Operation.
Removing Motor & Cutting Head Unit
To remove the motor and cutting head unit for servicing:
• Open front door, remove screws connecting lid to
body case.
• Unplug cables and remove lid; set aside.
• Remove waste bin; set aside.
• Using a 12mm socket, remove four nuts on under side
(see Figure 1).
• Carefully lift out motor/cutting head unit from the top.
CAUTION: Heavy.
Figure 1
4
