Community R.35-3896-EN Installation And Operation Manual - Page 8
Browse online or download pdf Installation And Operation Manual for Speakers Community R.35-3896-EN. Community R.35-3896-EN 13 pages. R series
MAINTENANCE
FIELD SERVICE
Remove the loudspeaker from service to ease repair and avoid any exposure of internal
components to the elements. Any driver or crossover service required is accessed from the
front of the enclosure by first removing the front grille and then unscrewing and removing
the horn assembly. Take note of wiring positions prior to removing any drivers from the
loudspeaker. In order to maintain the weather resistance, components and assemblies
must not remain removed from the loudspeaker any longer than needed for replacement.
Extended exposure could cause failures and void the warranty on the loudspeaker.
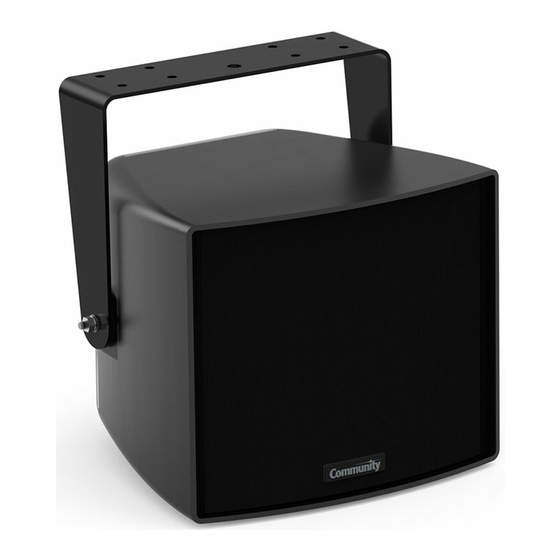
1. Remove the grille. Refer to illustrations in Figure 7. Remove the screws securing the
grille to the enclosure. The grille frame locks into the enclosure frame. Carefully insert
a thin flat bladed screwdriver between the grille frame and the enclosure frame while
gently pressing down on the grille. Starting at the top and moving down, twist the blade
to release the grille from the frame. Repeat as necessary to release the other side and
remove the grille.
2. Remove the screws holding the horn assembly to the enclosure and replace or service
the components as necessary.
3. Replace the driver assembly securing it with all of the
original hardware. Push the grille frame into place - one side
and then the other, ensuring that the frames are fully seated.
The grille should easily snap into place. Secure the grille with
screws (in the same corner locations).
Remove any screws
securing the grille
Insert thin blade of screwdriver
between frame and enclosure
and move down seam while
twisting to loosen grille
Page 8
Figure 7. Remove grille
Installation and Operation Manual
Remove grille
R.35-3896-EN