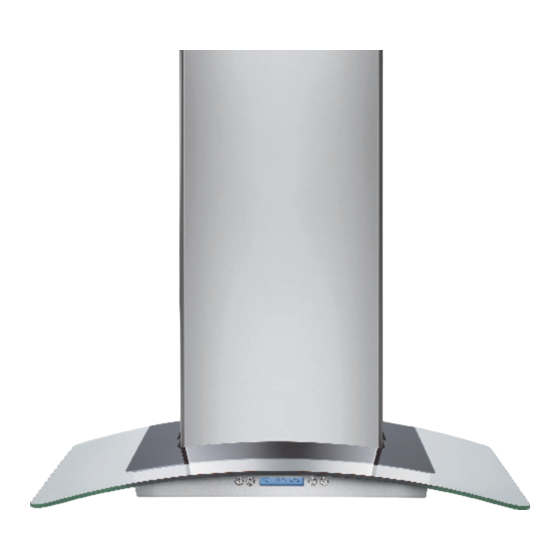
Electrolux 42 Owner's Manual And Installation Instructions - Page 14
Browse online or download pdf Owner's Manual And Installation Instructions for Ventilation Hood Electrolux 42. Electrolux 42 45 pages. 30” and 36” free-standing range hood
Also for Electrolux 42: Installation, Use & Care Manual (22 pages)

Replacing the light bulbs.
Setting the controls to OFF does not remove power to the light circuit.
(appearance may vary)
14
Refrigerator Compartment—Upper Light
Raise the grille panel, set the master
power switch to the O (off) position and
allow lamps to cool.
To remove the light shield, press on the
Left side of the shield and pull down.
Refrigerator Compartment—Lower Light
This light is located above the top drawer.
Raise the grille panel, set the master
power switch to the O (off) position and
allow lamps to cool.
Remove items from the shelf above the
light shield. Remove the shelf.
Use both hands to grasp each end of
the light shield. Press in on the bottom
of the shield with your thumbs while
rotating the cover up and out.
Freezer Compartment
Raise the grille panel, set the master
power switch to the O (off) position and
allow lamps to cool.
Remove the items from the shelf just
below the light shield. Remove the
shelf.
To remove the light shield, press down
on the top of the shield and pull the
tabs out of the slots. Tilt the shield
forward and out.
Dispenser
Raise the grille panel, set the master
power switch to the O (off) position and
allow lamps to cool.
The bulb is located in the dispenser
under the control panel. Remove the
two screws from the light shield. Slide
the light shield toward the dispenser to
disengage the tabs, then remove the
light shield. Remove the light bulb by
turning it counterclockwise.
Replace the bulbs with appliance bulbs
of the same or lower wattage. Replace
the shield by engaging the bottom tab
into the slot and applying light forward
pressure until the shield snaps in place.
Set the master power switch to the I (on)
position and close the grille panel.
Replace the bulb with an appliance
bulb of the same or lower wattage.
Replace the shield by engaging the
bottom tab into the slot and applying
light forward pressure until the shield
snaps in place.
Set the master power switch to the I (on)
position and close the grille panel.
Replace the bulb with an appliance
bulb of the same or lower wattage,
and reinstall the light shield. Replace
the shield by engaging the bottom tab
into the slot and applying light forward
pressure until the shield snaps in place.
Set the master power switch to the I (on)
position and close the grille panel.
Replace the bulb with a bulb of the
same size and wattage. Replace the
light shield by sliding the tabs into
the slots in the front of the dispenser.
Replace the two screws.
Set the master power switch to the I (on)
position and close the grille panel.
