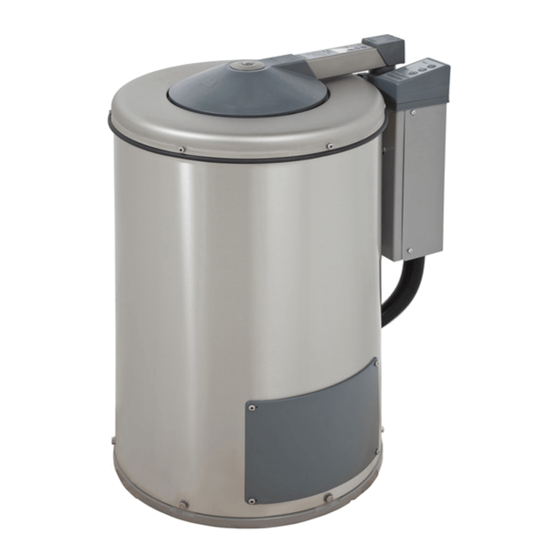
Electrolux C240R Operating And Installation Manual - Page 12
Browse online or download pdf Operating And Installation Manual for Ventilation Hood Electrolux C240R. Electrolux C240R 20 pages. Hydro-extractor
Also for Electrolux C240R: Operating Manual (24 pages), Service Manual (41 pages)

- 1. Table of Contents
- 1. Instruction for Use
- 1. General, Safety
- 1. Procedure for Use
- 1. Maintenance
- 1. Unpacking, Open the Lid, Come with All Types
- 1. Positioning, Drains
- 2. Installation
- 2. Quality Requirements, Concreting of Foundation
- 2. Concreting, Procedure
- 2. Attachment and Fitting of Hydro-Extractor
- 2. Technical Data
- 2. Electrical Installation
- 2. Voltage Change
- 2. Test Runs
12
Attachment of hydro-extractor with
freely suspended basket
When using expander bolts use size M12.
Drill holes in the floor. The depth and diameter
must fit the expander bolts used.
To position holes correctly you can use the
template which is supplied. The extractor bottom
plate can also be used as a template.
Place the expander bolts in the holes.
Fitting of hydro-extractor
Position the hydro-extractor and adjust it to
make it completely horizontal. Place the spacers
(A) below the bottom ring and around the
foundation bolts. It is important that these
gaskets cover the full surface of the foot.
Position the square base gaskets (B) and the
lock-nuts (C). It is important to fit the square
gasket under the lock-nut, since this will ensure
the right distribution of the mechanical load.
To prevent vibration in the hydro-extractor and
thus the risk of dislodgement, spacers (D) can
be placed between the attachment bolts. These
spacers (D) must be so high, approx. 3-4 mm,
that the bottom ring will deflect approx. 1-2 mm.
It is important for the bottom ring to be stressed
when the bolts are fastened at full torque.
Installation
NB!
Check the nuts and tighten them
when the hydro-extractor has been
in operation for a few months.
C
Bottom ring
B
2 mm
A
D
487 22 52 21 - Cent. 240, 260, 290, GB
