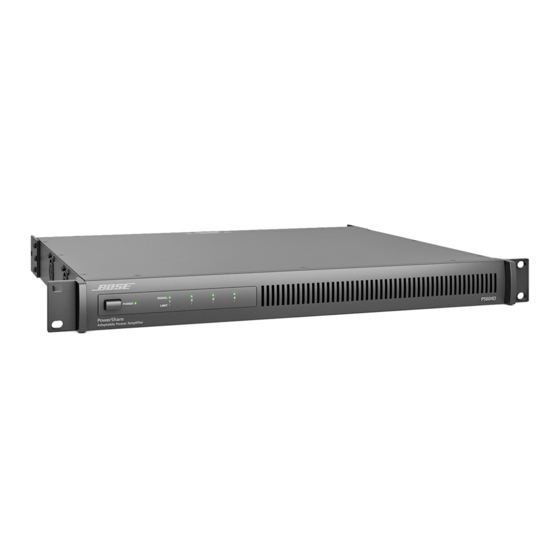
Bose PowerShare PS404D Installation Manuals - Page 12
Browse online or download pdf Installation Manuals for Amplifier Bose PowerShare PS404D. Bose PowerShare PS404D 24 pages. Adaptable power amplifiers

Installation
Installation
Setting Up the PowerShare Amplifier
The asymmetrical PowerShare capability of the amplifier is easy to use and does not require software to
configure. Set the output trims according to the power you want distributed to each output load and the
amplifier ensures that the 600 watts (PS604D), or 400 watts (PS404D), power is not exceeded. In scenarios
where more power is demanded from the amplifier, the amplifier will automatically limit all outputs equally
until the power demand is reduced.
How to Set Up a PowerShare Amplifier:
1.
Starting with the amplifier power OFF, make all required power and audio connections.
2. All configuration is done within ControlSpace Designer software:
A. Connect the PC or laptop to either amplifier's Dante port, or connect to the amplifier via a network
switch.
B. Turn the amplifier ON.
C. Start the ControlSpace Designer software on your PC or laptop and configure each signal processing
block as required for the application. See the ControlSpace Designer help system for details.
D. Inputs are analog by default to ensure audio can pass through the amplifier with no programming
necessary. Use ControlSpace Designer to change each input from analog to Dante® as necessary.
3. If using CC-D ControlCenter digital zone controller(s) for remote control, rotate each Output Attenuation
control fully clockwise to 0 dB attenuation. This enables each CC-D zone controller to attenuate over the
full range. To have the CC-D operate across a limited range, increase the output attenuation as needed by
rotating the Output Attenuation control counter-clockwise.
4. If all outputs are set to drive 70/100-volt Hi-Z loudspeakers, rotate each corresponding Output Attenuation
control to 0 dB attenuation. Set each loudspeaker tap to the appropriate setting. Based on the total
loudspeaker tap settings, the amplifier will adapt and deliver the required power to each output. The
total amplifier wattage can be distributed in any way across all amplifier outputs. For examples, see the
PowerShare Application Guide at pro.Bose.com.
5. If all outputs are set to drive 4-8 Ω Low-Z loudspeakers, rotate each Output Attenuation control until the
desired levels are reached. Play a signal containing the highest normal program or pink noise input level.
Ensure the material is near the input sensitivity for best noise performance. Observe the Output Limit LED
for the output being adjusted. If the signal level is higher than the protection limit for the loudspeaker,
the Output Limit LED will light amber. Increase the attenuation until the Output Limit LED does not light,
or only occasionally lights. The total amplifier wattage can be distributed in any way across all amplifier
outputs. For examples, see the PowerShare Application Guide at pro.Bose.com.
6. Since each output is configurable to drive either Hi-Z or Low-Z loudspeakers, the amplifier can support
mixed-impedance installations. In this setup, first configure the Hi-Z channels before configuring the Low-Z
channels.
7.
When setting up the amplifier, monitor the Input Signal LEDs for input clipping and the Output Limit LEDs
for output limiting to ensure the amplifier is working within proper operating conditions. Make adjustments
if necessary.
12 • English
PowerShare PS604D/PS404D • Installation Guide
pro.Bose.com
