DSE DK-WP4-DVR User Manual
Browse online or download pdf User Manual for Security Camera DSE DK-WP4-DVR. DSE DK-WP4-DVR 2 pages. Camera and video recorder in wall clock
USER'S MANUAL
DK-WP4-DVR
Camera and video recorder in
wall clock
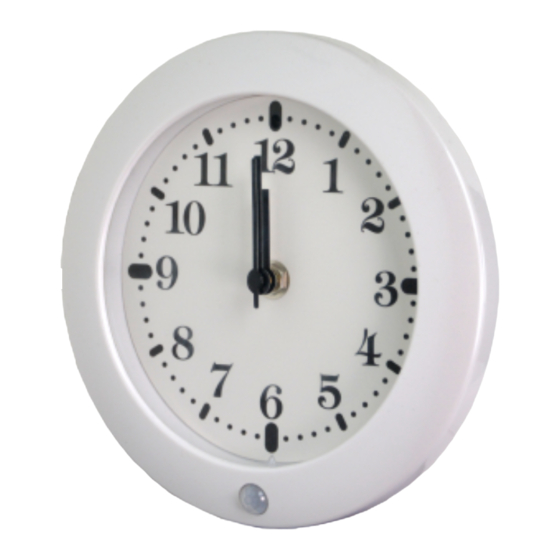
Product description
DK-WP4-DVR is a video recorder equipped with a camera
integrated in a working wall clock.
1.
Target
2.
PIR presence detector
3.
Clock time adjustment
4.
AA battery compartment for clock
5.
Reset button
6.
MicroSD card slot
7.
USB port for charger
8.
Camera power switch
9.
Status LED
Use as a watch
DK-WP4-DVR is an investigative camera but it is also a
real wall clock perfectly functional so as not to arouse any
suspicion.
DK-WP4-DVR Camera with clock video recorder
DSE srl - Digital Surveillance Equipment - www.dse.eu
Document: DK-WP4-DVR2I0
To adjust the clock, do the following:
1.
Insert an AA battery into compartment 4
2.
Turn the wheel (3) to adjust the time
Battery powered
The camera is able to operate with only the power supply
of its internal 3Ah battery which allows about 6 hours of
recording. To save the battery, the camera has a front
presence detector (2) which warns the camera of the
presence of people in the room. Thanks to this sensor, the
camera normally remains in Stand-By when there are no
people, consuming very little battery and starts recording
only when an intrusion is detected.
The internal battery allows the camera to have a stand-by
autonomy of over 4 months.
Mains power supply
The DVR can also operate on mains power with the
included 220V / USB power supply.
In this case, the USB cable is kept connected even during
operation. The LED (9) lights up during charging.
Movie storage
The video files are stored on a micro SD card (not
supplied).The movies have Full HD 1920x1080 resolution
at 25 f / sec. and are saved in MOV format with H264
compression
It is possible to use micro SD cards of any brand up to
128 GB of capacity.
1 hour of recording occupies an average of 6.6GB so on a
128GB SD card you can hold over 19 hours of recording
hours.
Obviously, thanks to the presence detector, the DVR can
monitor the room for much longer because it records only
in the presence of people.
Once the memory has run out, the DVR will automatically
overwrite the oldest files if programmed in this way in the
configuration.
Inserting the micro SD card
The first thing to do is insert the micro SD card into the
appropriate slot in the DVR (6)
It is possible to use micro SD cards with capacities up to
128 GB in CLASS 10 or higher. For added security, it is
advisable to format the microSD card in FAT32 with a
computer before inserting it into the DVR.
A class 10 SD card has a write speed of 10 MB / s. Do not
use SD cards with slower speeds as they will lead to
malfunctions.
Pay attention to the insertion direction of the SD card
which will slide into its seat only with the gold contacts
facing the reset button.
No micro SD card is included in the package.
Internal battery charging
Before using the device, it is advisable to fully charge the
battery. To do this, connect the USB port of the DVR to
the computer or to the USB power supply with the cable
supplied.
Full charging takes several hours depending on the initial
charge state. We recommend that you comfortably let the
charging complete overnight.
Next to the USB socket there is a LED (9) which lights up
during charging.
Registration
To record, all you need to do is turn switch 8 to the ON
position. The camera will operate and record for 3 minutes
Page: 1