Concoa 830-9413 Installation And Operation Instruction Manual - Page 4
Browse online or download pdf Installation And Operation Instruction Manual for Control Unit Concoa 830-9413. Concoa 830-9413 8 pages. Relief valves
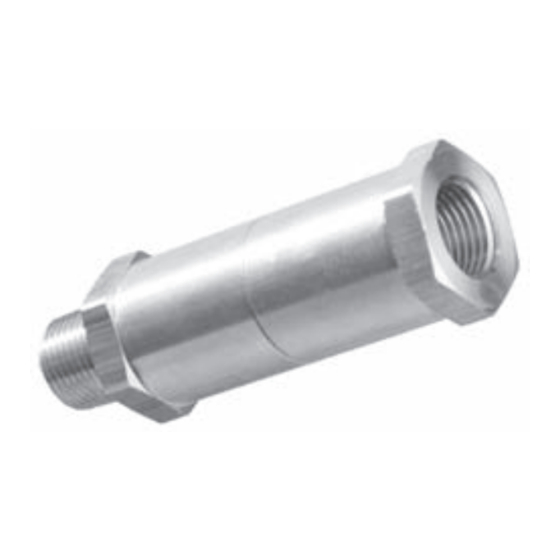
3. Attach the relief valve to the outlet adapter on the tee-block. Remove
the adapter if the ¼" female NPT thread port is required.
4. Loosen the case of the relief valve approximately an 1/8 of a turn
counter-clockwise by applying torque at the hex flats located at both
ends of the valve.
5. Insert the appropriate Allen wrench into the female NPT outlet port
of the relief valve.
6. Turn the Allen wrench clockwise to increase cracking pressure and
counter clockwise to reduce.
7. Tighten the case by reversing step four (4).
8. Adjust the pressure of the 492-1312-01-580 to the desired relief point.
Observe the point at which the relief exhausts.
9. Open the needle valve a ¼ turn and back out the regulator-adjusting
knob until the outlet gauge pressure reads zero. If the relief valve
exhausts at the desired pressure go to step eleven (11). If further
adjustment is required, proceed to step ten (10).
10. Repeat steps four (4) through nine (9) until the desired cracking
pressure is obtained.
11. Valve is ready for installation.
INSTALLATION
Note: It is the end user's responsibility to ensure that the relief system
is properly designed by a professional engineer to meet the intended
requirements.
1. Be sure that all connections are secure and leak tight. Teflon tape
should be used on pipe fittings, but avoid impinging on the gas stream.
Before applying tape, inspect the NPT threads and if necessary, clean
the fitting to remove any dirt or thread sealant that remains. Start the
Teflon tape on the second thread as shown in Figure 3; make sure the
tape does not overlap the end of the thread. As the tape is wrapped
in the direction of the thread spiral (clockwise), pull tightly on the
end of tape so that it conforms to the thread. Apply two overlapping
layers and cut off excess tape.
Figure 3