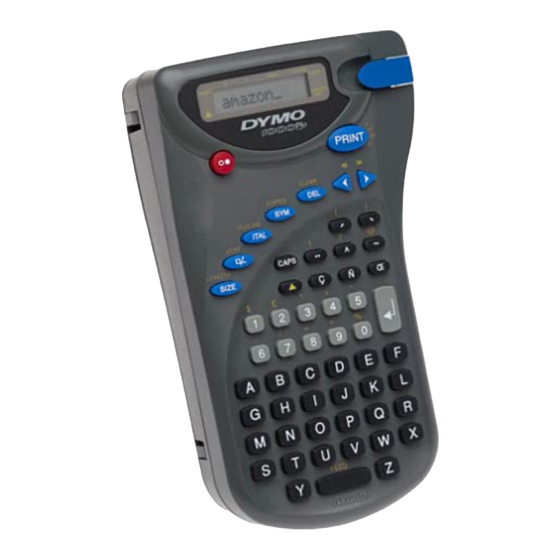
Dymo RhinoPRO 1000 User Manual - Page 4
Browse online or download pdf User Manual for Label Maker Dymo RhinoPRO 1000. Dymo RhinoPRO 1000 5 pages. Dymo rhino 1000: user guide
Also for Dymo RhinoPRO 1000: Quick Reference (2 pages), Instructions For Use (2 pages), User Manual (11 pages)

MULTIPLE COPIES
• Your Labelmaker can provide multiple copies
within the range 1-99
• To use this facility press
to show n = 1 on the display. To increase the
number of copies required press
By pressing
you can work backwards
from 99.
To print the desired quantity press
Note: Labels will be printed with a short leader
and trailer. A row of vertical dots will print
between each label as a cutting guide; the final
label will have a long trailer ready for cutting.
INCREMENTAL NUMBERING
Labels can be printed in increments of 1-99
automatically.
• Key in your starting number as the right most
digit on the label. Press
the display will automatically move up a digit
to the next number. Press
to continue the sequence.
• It is also possible to include automatic
incremental numbering when printing
multiple copies.
• Key in your starting number, eg. LABEL 1 .
Next press
followed by
until the desired number of
copies are displayed eg.10.
Now press
ten labels - LABEL 1 to LABEL 10 .
• It is possible to print up to 99 sequentially
numbered labels at any one time.
Note: Labels are printed with short leaders and
trailers. See "multiple copies" above.
LAST LABEL MEMORY
• The unit will store the last label text and
settings when turned off. Upon power-up,
these will be restored and displayed.
Removal of the batteries for more than a few
seconds will cause this information to be lost.
Symbols and special characters
INTERNATIONAL CHARACTERS
To add a diacritical (accent) to create an
international character, enter the character first,
followed immediately by the diacritical, e.g. press
E
followed by
To add a diacritical to an existing character, use
or
to place the cursor under the
character to be changed, then press the
appropriate diacritical key.
+
COPIES
SYM
COPIES
then
SYM
.
PRINT
then
PRINT
then
PRINT
COPIES
then
SYM
then
. This will print
PRINT
é
then
to get
.
SYMBOLS
Press
SYM
characters, some of which are not available direct
from the keyboard. The display will show: A-L?
Each letter selects a line of symbol characters, as
shown in the table on page 2.
Press
DEL
'L' until you find the line of symbols required.
Use
.
to place the symbol in the label.
PRINT CONTRAST - May be adjusted by pressing
SYM
contrast symbols
• Use
print.
• Press
level will revert to the mid-setting when the
,
Labelmaker is turned off and on again.
Note: This function enables you to adjust the
print quality under extreme temperature
conditions.
Cleaning
• Clean the cutter blade regularly: Remove the
cassette, then insert the tip of a ball pen or
pencil between L-shaped piece
guide pin – see page 2.
• Press and hold down cutter lever
expose cutter blade
and alcohol to clean both sides of the blade.
Release cutter lever
• Check and clean print head face
using a cotton bud and alcohol ONLY.
Troubleshooting
No display
• check machine is on
• replace discharged batteries
• check AC adaptor.
No printing or poor text
• replace discharged batteries
• check tape cassette installed correctly
• clean the print head
• replace the tape cassette.
Tape jammed
• lift out tape cassette carefully
• remove/release jammed tape
• DO NOT cut the ink ribbon – turn spool to
tighten
• cut off excess label tape
• refit/replace the tape cassette.
Poor cutter performance
• clean the cutter blade regularly
5
to show symbols and special
to cancel, or press a letter key 'A' to
or
to select a symbol. Press
followed by
to display the five
Y
.
or
to select lighter or darker
to confirm the setting. The contrast
D ,
then use a cotton bud
E
.
Continued overleaf.
D
and the
E
to
D
regularly
