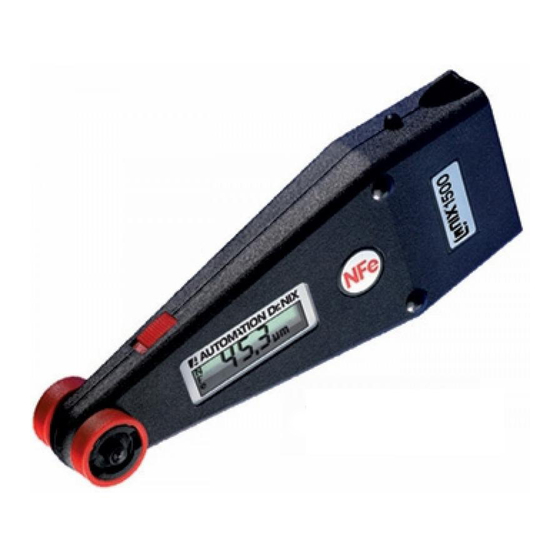
Automation Dr. Nix QNix 1500 Instruction Manual - Page 3
Browse online or download pdf Instruction Manual for Measuring Instruments Automation Dr. Nix QNix 1500. Automation Dr. Nix QNix 1500 12 pages. Coating thickness gauge

3900 values can be stored and statistically evaluated.
Optionally, a special software for statistical evaluation can be
supplied.
®
The QNix
1500 complies with national (DIN) and international
(ISO, BS, ASTM) standards and regulations: DIN 50981,
50984; ISO 2178, 2360, 2808; BS 5411(3, 11), 3900 (c, 5);
ASTM B499, D1400, D7091
Maintenance and Handling
This gauge incorporates the latest electronic technology in
order to fulfill different measuring tasks. This high precision
instrument covers a wide range of applications, yet it is robust
and easy-to use in every-day practice. If operated and treated
with care, it will serve you many years.
Do not let it drop and protect it from dirt, dust and other
substances. After use, the gauge should be stored in its
protective carrying case.
Substantial changes in temperature can influence the
readings, as it is the case with all precision gauges. Do not
expose the gauge to strong, direct sunlight or to other sources
of energy causing temperature shocks.
Protect the gauge from moisture, chemically aggressive
substances and/or gases.
The casing is resistant against most solvents. However, a
resistancy against all chemical substances cannot be
guaranteed. Use only a damp, soft cloth to clean the casing.
Accurate readings can only be obtained, if the measuring
probes are clean. Check the probes regularly and remove
existing residues such as lacquer etc. from the ruby probe tip.
If the gauge will not be used for a long period, remove the
battery in order to prevent leakage and therefore destruction
of the gauge.
In case of a malfunction, please do not try to repair the gauge
yourself. Our repair service will be glad to help at any time.
Measuring Range
0 – 5000 μm or 0 – 200 mil in one measuring range
Gauges without memory can be switched from μm to mil by
operating the two switches on the sides of the instrument.
3
