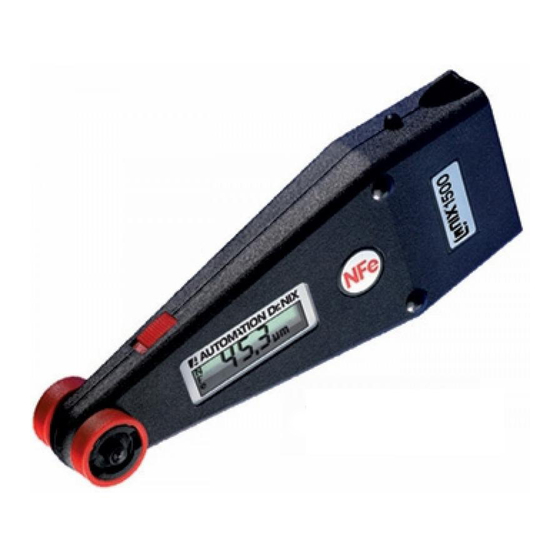
Automation Dr. Nix QNix 1500 Instruction Manual - Page 5
Browse online or download pdf Instruction Manual for Measuring Instruments Automation Dr. Nix QNix 1500. Automation Dr. Nix QNix 1500 12 pages. Coating thickness gauge

Hold the gauge according to the drawing and slightly press the
probe onto the surface so that the ring around the probe is
evenly placed. If the value indicated on the zero plate or on
your uncoated substrate is not within the basic tolerance, the
gauge should be adjusted (gauges with a memory must not be
in the Memory Mode). Push one of the slides at the sides of
the gauge while the probe is placed firmly on the substrate, i.e.
the zero plate. You will hear a "Beep" and a control number
will appear on the display. Lift the gauge at least 25 mm or
one inch from the zero plate. The gauge will "beep" again and
another number will be displayed. The QNix® 1500 is
adjusted now.
When repeating measurements on the same spot, the
measured value may not always be 0.00, due to surface
roughness, dirt, scratches etc.
The gauge is delivered with two protective rings around the
probe for better positioning and protection. These rings can
easily be removed by slightly turning and pulling. On concave
surfaces remove the protective rings in order to achieve
accurate measurements.
Measurement
Place the QNix®
1500 with its ring
around the probe
plane
on
the
object
to
measured
(see
drawing).
For
measurements on
steel or iron, the
Fe-sticker should
face
you.
For
measurements on
non-magnetic metallic substrates such as aluminum you
should be able to see the NFe-sticker.
Do not place your finger on the upper probe, otherwise the
readings will not be correct. Take care that the circular probe
ring is placed evenly on the surface. On even objects, the two
rear supporting points will help to position the gauge. The
be
5
