Dynojet power commander III Instalation Instructions - Page 3

Browse online or download pdf Instalation Instructions for Automobile Accessories Dynojet power commander III. Dynojet power commander III 3 pages. 2004 kawasaki zx12r
Also for Dynojet power commander III: Installation Instructions (5 pages), Installation Instructions (5 pages), Installation Manual (3 pages), Installation Instructions (4 pages), Installation Manual (3 pages), Installation Instructions (4 pages), Installation Instructions Manual (3 pages), Installation Instructions (3 pages), Instalation Instructions (3 pages)
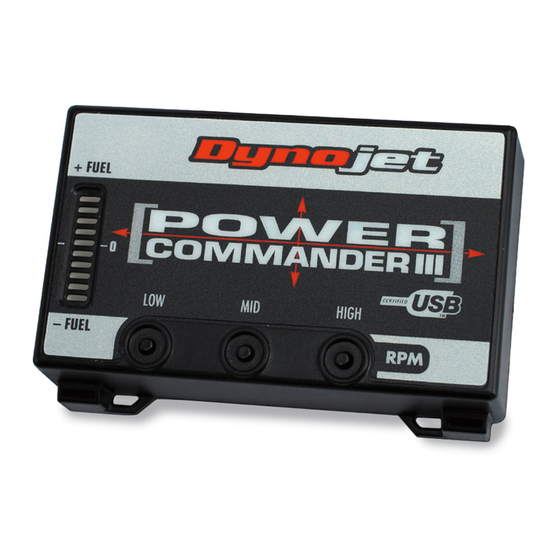
Dynojet power commander III Instalation Instructions
Plug the main power wire from
the Power Commander into the
Ground wire from
PCIIIUSB
i206-411
www.powercommander.com
rear brake light connectors
7)
Plug the connectors from the Power
Commander in line of these connec-
tors. (Fig. D).
8)
Connect the ground wire from the
Power Commander to the negative
side of the battery (Fig. E).
9)
Mount the Power Commander in the
rear trunk area using the supplied vel-
cro strips.
10)
Reinstall the fuel tank and its shell.
11)
Reinstall main seat and passenger
seat/solo cover.
2002-2003 Kawasaki ZX-12R - PCIII USB - 3