Cordex UT5000 User Manual - Page 8
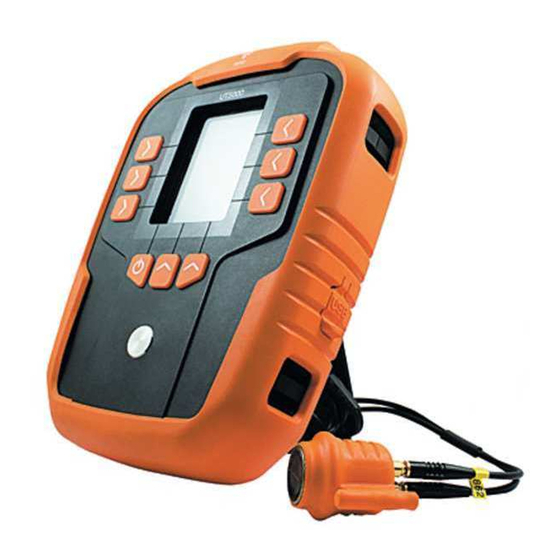
Browse online or download pdf User Manual for Test Equipment Cordex UT5000. Cordex UT5000 13 pages. Intrinsically safe ultrasonic thickness gauge
Also for Cordex UT5000: Quick Start Manual (3 pages), User Manual (12 pages), Instructions For Safe Operation (7 pages), Instructions For Safe Operations (8 pages)

Selecting Material Velocity
To carry out an accurate measurement, it is
important that you provide the UT5000 with
the correct velocity of sound in the medium
to be measured. The UT5000 contains a table
of values for the most common materials.
For more unusual materials, you may need to
enter the velocity manually.
To change the current material velocity, press
the VEL key on the main display.
Use the UP or DOWN keys to choose from the
following options:
•
Material User Defined
•
Material From List
Having made your choice, press the SEL
button to continue.
Material From List
This option allows you to select a velocity
from the UT5000's internal table of predefined
materials (see page 10). You can add
materials to the velocity data table using the
host system (UT5000 Mini-App).
To select a new material, use the arrow keys
to highlight the required material, then press
the SEL key. The new material and velocity
replaces the current selection and, until the
material is changed, all measurements are
calculated using the user-defined velocity
value.
RUGGED
AUTHORITY
Material User Defined
Use this option to enter material velocity data.
CAUTION! For user defined data, you are
overriding any safety checks within the gauge.
If you attempt to override a preloaded material
velocity value, the UT5000 prompts you to
confirm any changes: "Material velocity data
mismatch, continue YES/NO".
To define a new material:
1.
Select UD Material Text.
2.
Enter the name of the material you want to
define:
•
Use the arrow keys to highlight the required
character, then press the SEL key.
•
Repeat this procedure until you have entered
the full text.
3.
Use the arrow keys to highlight ACCEPT, then
press the SEL key.
4.
Select UD Material Velocity.
5.
Enter the velocity for the material:
•
Use the arrow keys to highlight the required
digit, then press the SEL key.
•
Repeat this procedure until you have entered
the full value.
6.
Use the arrow keys to highlight ACCEPT, then
press the SEL key.
The new material and velocity replaces the
current selection and, until the material is
changed, all measurements are calculated
using the user-defined velocity value.
Taking a Measurement
Before you take a measurement check that
you have:
•
Fitted the probe (see page 9)
•
Applied couplant to the target area (see
page 12).
•
Selected the required measurement mode
(see page 13).
•
Chosen the correct material velocity (see
page 14).
•
Zeroed/calibrated the gauge (see page 9).
To take the measurement:
If an RFID tag applies to the target area, press
the SCAN button. The unit must be within 5cm
of the tag for reliable detection. If a tag is
detected, all subsequent measurements will
be associated with the tag. If you have set
up the tag with material and alarm settings,
these are displayed by the UT5000.
1.
Press the probe onto the target area,
attempting to exclude all air at the contact
point.
2.
Holding the probe firmly, press the
UT5000's MEAS key. If you have selected a
pulse frequency, the UT5000 displays the
maximum and minimum values obtained so
far, and the average measurement.
UT5000 – Intrinsically Safe Ultrasonic Thickness Gauge
3.
Press the STOP key to stop measuring. If any
of the measurements exceed the defined
alarm settings for the RFID tag location, the
corresponding alarm setting is displayed
with red text.
If you want to store the measured values,
press the SAVE key. To download all saved
measurements to a PC, see page 19.
15
