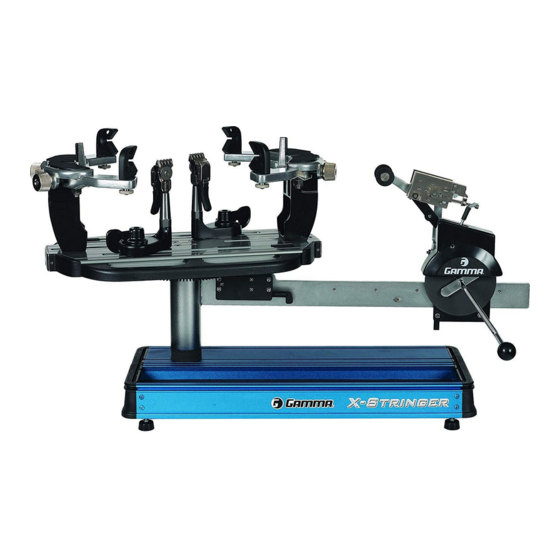
Gamma Progression ST II Owner's Manual - Page 15
Browse online or download pdf Owner's Manual for Stringing Machines Gamma Progression ST II. Gamma Progression ST II 19 pages.
Also for Gamma Progression ST II: Owner's Manual (17 pages)
MAINTENANCE & ADJUSTMENTS
the string, it may be excessively tight and should be adjusted by turning the Adjustment Knob
counter clockwise to open the gap between the jaws.
NOTE: Due to the bearings used in the Clamp Lever the action of the Clamp Lever is
very light making it easy to apply excessive clamping pressure. Clamps that are set
too tight can damage the string as well as the string clamp jaws.
The clamp jaws should be cleaned periodically to be free from dirt, oil, and any string coating
residue to grip properly. Knife sharpening stones are excellent for removing build-up on the
diamond coated surfaces and are available.
Adjusting the String Clamp Jaw
Spacing
The string clamps will need minor adjust-
ments according to what string type, con-
struction, and gauge you are using.
To adjust the gap (clamping pressure)
between the clamp jaws, insert the string
through the racquet as if you were beginning
the main strings. Clamp the strings and pull
Adjustment
tension. If the string slips through the jaws of
Knob
the clamp, tighten the clamp by squeezing the
clamp jaws together by hand while turning the
Adjustment Knob, in the clockwise direction.
If the clamp leaves impressions or damages
Clamp Base Locking Nut Adjustment
In the event the Locking Lever rotation is
insuffi cient to ensure smooth operation of the
clamp base, very minor adjustments to the
Clamp Base Locking Nut can be made with
the supplied 17mm socket. Tighten or loosen
the locking nut in very small increments to
provide more clamping pressure or running
clearance as needed.
Quick Action Clamp Base Removal
Quick Action clamp bases can be removed
from the turntable for maintenance or cleaning
by removing clamp stop located at the end
of the slot in the turntable. To remove the
clamp stop, remove the two screws holding
the clamp stop in place from the underside of
the turntable. Lift the clamp stop out of the
slot, slide the clamp base to the end of the
slot and lift it out. Replace the clamp base
and clamp stop in reverse order.
16