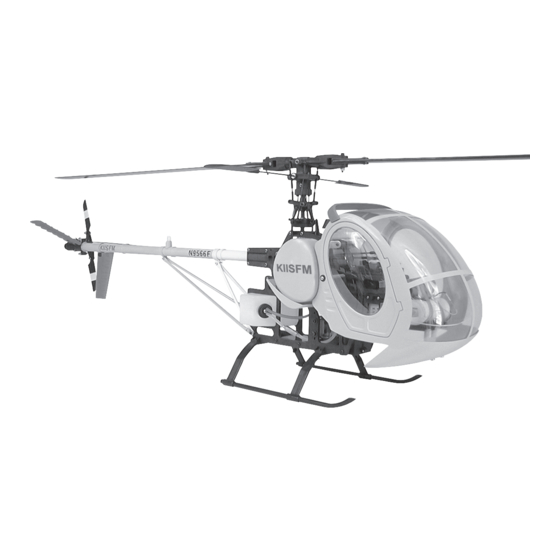
Century Helicopter Products Schweizer 300 Scale Instruction Manual - Page 7
Browse online or download pdf Instruction Manual for Toy Century Helicopter Products Schweizer 300 Scale. Century Helicopter Products Schweizer 300 Scale 12 pages.

This completes the major assembly for the Schweizer 300 body kit, the next section covers installing the cabin set
onto a Hawk helicopter kit. For those mounting on another helicopter brand, some modifications will be necessary
to adapt to your helicopter. The following steps show the changes to the Hawk III instruction manual to mount the
cabin set. It is recommended to have finished the helicopter assembly including servo and pushrods.
Step 11
In step 12, the short black ball has to be installed as shown,
this is opposite to the instruction manual and is required
for clearance on the elevator pushrod.
Step 12
In step 25, remove the two 3x16mm self tapping
screws from the upper rear servo tray positions.
Insert one 3x25mm threaded stud on each side,
half way into these two holes. Apply threadlock to
the remaining threads and tighten the Body Mount
Posts against the servo frame. Please note, that the
rudder and elevator servo are reversed, change the
leads going to the receiver and the pushrods at-
tached to the servos.
Step 13
While looking at the nose of the helicopter, attach the completed
cabin set to the helicopter by starting from 45 degrees and align one
side body mount post with the rubber grommet on the correspond-
ing side and engage the bottom hook. Lift the rear remaining edge
and flex the cabin gently to engage the second body mount post.
Attach one fuel tank assembly by engaging the front tank molded
pin into the mating grommet on the cabin rear. While looking
from the side mark with a pencil through the hole in the bracket on
the lower side frame. Remove the fuel tank and measure 21mm (1
1/16") horizontally across from the frontmost lower frame hole. At
this intersection, drill one 1/16" hole approximately 1/2" deep into
the plastic frames. Reinstall the fuel tank and insert one 3x8mm self
tapping screw through the bracket to secure the tank. Repeat for the
other side. To remove the cabin you do not need to remove the
screws, simply separate the tanks and gently flex the cabin around
one body mount post and rotate the cabin to remove.
Short steel ball
change.
6
