GARDEN MASTER GM2315 Assembly Instructions Manual - Page 5
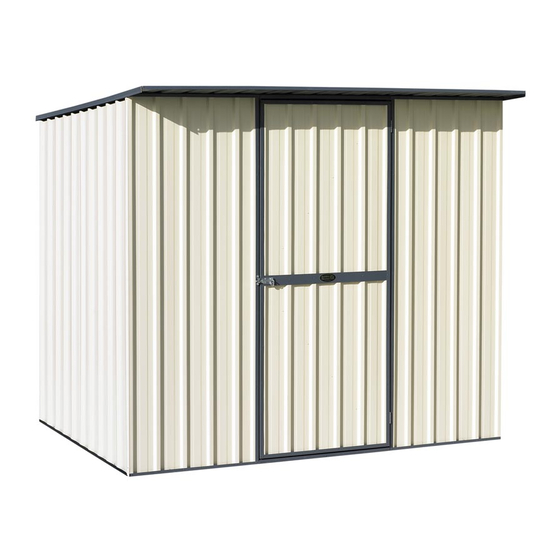
Browse online or download pdf Assembly Instructions Manual for Outdoor Storage GARDEN MASTER GM2315. GARDEN MASTER GM2315 8 pages. Sloping roof shed
Also for GARDEN MASTER GM2315: Assembly Instructions Manual (8 pages)
If you feel confident that you do not need to read through these instructions, see page 2.... January 2010
Please adhere strictly to these instruction for warranty purposes
You need:
2 x (B) Sheets - Left
•
2 x (B) Sheets - Right
•
2 x (E) Channels per side
•
(B)
(E)
a.
Join 2 Left (B) sheets together to give a slope at the top.
b.
Cap sheeting with (E) 1515mm channels on top and bottom
c.
Fix the channels at the corners and every 2nd rib in between.
d.
3 fixings up underneath thru channel into pan of sheet on the top and 3 on bottom channel
e.
Perform the same again for the Right side
a. The Door braces can be fitted now or after you have assembled your shed.
b. Tuck one end of the "Z" between the bottom channel of the inside of the door and the sheet. Do
the same at the top overlapping in the centre behind the padbolt. If you have a locking "T" handle you
will have to run the "Z"s the opposite way to the diagram.
c. Fix the "Z"s at the ends and in the centre to the channel it is tucked under and thru the overlap in the
centre. 2 or 3 more rivets will be required thru the door sheeting into the "Z", but they will need to
be fixed through from the outside of the door for neater appearance.
d. You may need to cut or bend the flange at the bottom and top of the "Z" if it catches on door
jamb when opening or closing.
4: End Walls
.
Door Brace Kit
TIP: Put the padbolt on the door
before erecting the panels. It will
stop the door swinging around!
(E)
Channels will end 15
- 20mm short at
tops of end walls
and 10 - 15 at bot-
toms (as below)
Padbolt
"Z" Brace
Pg 5
Inside