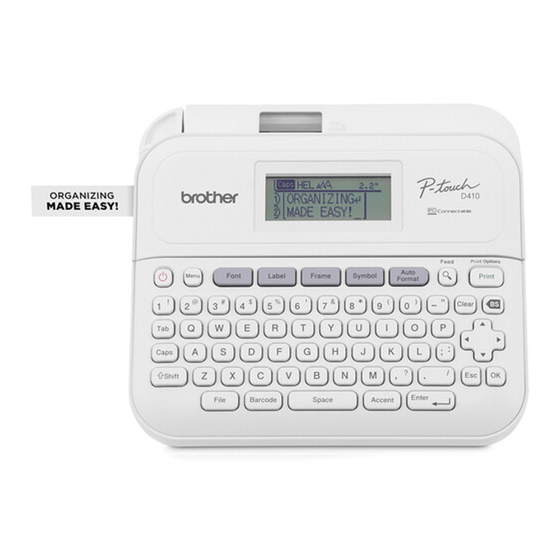
Brother P-touch PT-D410 Quick Start Manual - Page 3
Browse online or download pdf Quick Start Manual for Label Maker Brother P-touch PT-D410. Brother P-touch PT-D410 9 pages.
Also for Brother P-touch PT-D410: Manual (8 pages)

Before Use
1. LCD and Keyboard
Tape Viewer
Tape Cutter
Lever
Tape Exit Slot
Power
Keyboard
Starter
Tape Cassette
USB Cable
AC Adapter
The components included in the box may differ depending on your country or region.
Serial Number Location
Serial Number
Application Download Label
AC Adapter Jack
USB Port
D410
Tape Cassette
Compartment
Cover
Preview
LCD
1
2
3
4
5
6
7
8
9
1. Caps mode
2-4. Font Style Icons
5. Label Length
6. Block number
7. Line number
8. Cursor
9. Return mark
2. Install Batteries or Connect the AC Adapter
Remove the protective material (first use only) before using the Label Maker.
Batteries
• When using the AC Adapter (AD-E001A):
- Insert the Adapter cord plug into the AC Adapter Jack
on the side of the printer.
- Insert the plug into the nearest standard electrical
outlet. For memory backup, we recommend using AA
alkaline batteries (LR6) together with the AC Adapter.
• To safeguard and back up the Label Maker's memory,
when the AC Adapter is unplugged, keep AA alkaline
batteries (LR6) installed in the Label Maker.
• When power is disconnected for more than two minutes,
all text and format settings will be cleared. Any text files
stored in the memory will also be cleared.
• Remove the batteries if you do not intend to use the
Label Maker for an extended period of time.
• Dispose of the batteries at an appropriate collection point,
not in the general waste stream. In addition, be sure to
observe all applicable federal, state, and local regulations.
AC Adapter
• When storing or discarding the batteries, wrap them (for
example with cellophane tape), to prevent them from
short-circuiting.
(Battery insulation example)
1. Cellophane tape
2. Alkaline battery
3. Insert the Tape Cassette
• After the tape passes under the Tape Guide, pull the tip
to remove any slack in the tape.
• Make sure the tape is not caught in the Label Maker
when inserting or removing the Tape Cassette.
1. Insert the Tape Cassette following the illustration under
the Tape Cassette Compartment Cover. Confirm that the
tip of the tape is pointed at the Tape Exit Slot.
2. Press the Tape Cassette into the Label Maker until
it locks into place and then close the Tape Cassette
Compartment Cover.
4. Turn the Power ON or OFF
Power on Press
Press and hold
Power off
until the Label Maker turns off.
2
1
Tape Guide
End of tape
To print from the Label Maker, go to
1. Print from the Label Maker
To print from your computer, go to
2. Print from Your Computer
