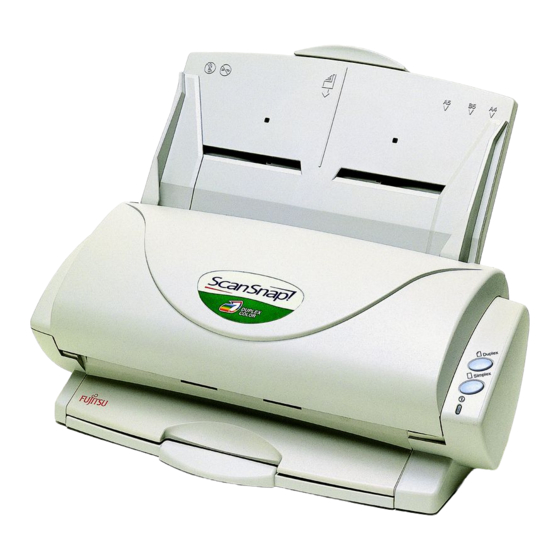
Fujitsu ScanSnap FI-4110EOX2 Getting Started Manual - Page 14
Browse online or download pdf Getting Started Manual for Scanner Fujitsu ScanSnap FI-4110EOX2. Fujitsu ScanSnap FI-4110EOX2 18 pages. Color image scanner
Also for Fujitsu ScanSnap FI-4110EOX2: Installation Procedures (2 pages), Specifications (2 pages)
5. Replacing Consumables
This chapter describes how to replace consumables.
WARNING
Fire/Electric Shock
Before you replace consumables on the scanner,
disconnect the AC adapter to turn off the scanner.
5.1. About Consumables
The following table lists the part numbers of consumables
and rough guidelines for replacing these parts.
No.
Description
Pad ASSY
PA03209-0012
1
Pick roller
PA03209-0013
2
These replacement cycles are rough guidelines when
A4/Letter wood-free paper 64 g/m
Actual cycle may differ depending on the scanned paper.
Use only the consumables specified by PFU LIMITED.
You can use the following procedure to
HINT
create a rough guideline for when to replace
consumables and for estimating how many
sheets have been scanned.
1. Click the "ScanSnap! Monitor" icon in the task
tray with the right mouse button.
2. Click [Check consumable supplies] in the menu
that is displayed.
The screen ("Check consumable status" window)
showing how many sheets have been scanned.
Replace consumables using "Target to
change supplies" as a rough guideline.
For details on how to buy, consumables
contact the store where you purchased your
scanner.
12 |
P/N
Replacement Cycle
10,000 Sheets or
one year
50,000 Sheets or
one year
2
(17 lb) is scanned.
5.2. Replacing the Pad ASSY
Replace the Pad ASSY by the following procedure.
1.
Remove the document if there is a document in the
ADF paper chute.
2.
Open out the ADF towards you while lifting up the
cover open lever.
ADF
3.
Remove the Pad ASSY.
Press down on the pick arm with one hand, and pull
out the Pad ASSY in the direction of the arrow while
holding both ends (a and b) of the Pad ASSY with
your other hand.
Pad ASSY
4.
When attaching the new Pad ASSY, push down on
the pick arm with one hand, and attach the Pad ASSY
with your other hand.
Pad ASSY
Make sure that the Pad ASSY is
ATTENTION
completely attached. If the Pad ASSY is
not completely attached, document
jams or other feed errors may occur.
Cover open lever
Push down on pick arm.
a
b