AEG ARCTIS Operating Instructions Manual - Page 20

Browse online or download pdf Operating Instructions Manual for Refrigerator AEG ARCTIS. AEG ARCTIS 23 pages. Built-in fridge-freezers
Also for AEG ARCTIS: Operating Instructions Manual (32 pages), Operating Instructions Manual (28 pages), Operating Instructions Manual (40 pages), Operating Instructions Manual (28 pages), Operating Instruction (16 pages), Operating Instructions Manual (36 pages), Operating Instructions Manual (36 pages), Operating Instructions Manual (26 pages), Operating Instructions & Installation Manual (28 pages), Operating Instructions Manual (36 pages), Operating Instructions Manual (27 pages), Operating Instructions Manual (34 pages), User Manual (24 pages), Installation Instructions Manual (11 pages), Operating Instructions Manual (29 pages), Installation Instructions Manual (25 pages), Installation Instructions Manual (24 pages)
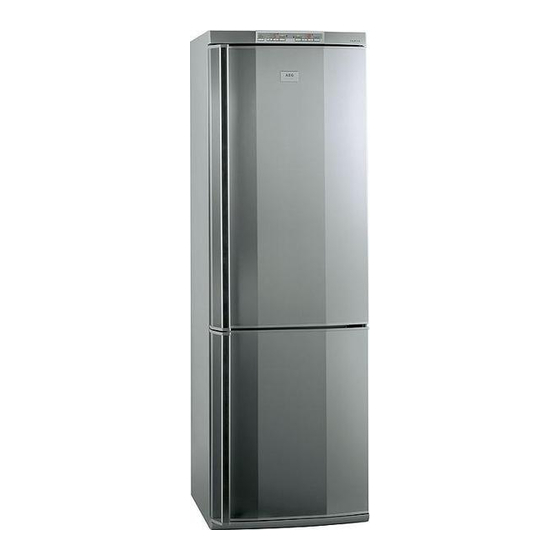
AEG ARCTIS Operating Instructions Manual
What to do if ...
The freezer temperature is
not sufficient, red light
illuminates, temperature
alarm signal sounds.
Heavy build up of frost,
possibly also on the door
seal.
Unusual noises.
The compressor does not
start immediately after
changing the temperature
setting.
Important: regularly check on the red temperature pilot light and
thermometer to establish that the storage temperature is being main-
tained.
20
Symptoms
Possible Cause
Temperature is not proper-
ly adjusted.
Door was open for an
extended period.
A large quantity of warm
food placed in the appli-
ance within the last 24
hours.
The appliance is near a
heat source.
Door seal is not airtight
(possibly after reversing
the door).
Appliance is not level.
A component, e.g. a pipe,
on the rear of the appliance
is touching another part of
the appliance or the wall.
This normal, no error has
occurred.
Remedy
Please look in the "Initial
Start Up" section.
Do not leave the door
open any longer than nec-
essary. Press the fast freeze
switch.
Press the fast freeze
switch.
Please look in the
"Installation Location"
section.
Carefully warm the leaking
sections of the door seal
with a hair dryer (on a
cool setting). At the same
time shape the warmed
door seal by hand such
that it sits correctly.
Readjust the feet.
If necessary, carefully bend
the component out of the
way.
The compressor starts after
a period of time.