EnStar ENMD Series Owner's Manual - Page 12
Browse online or download pdf Owner's Manual for Air Conditioner EnStar ENMD Series. EnStar ENMD Series 20 pages.
- 1. Table of Contents
- 2. Sociable Remark
- 3. Safety Precautions
- 4. Safety Rules
- 5. Air Conditioner Features
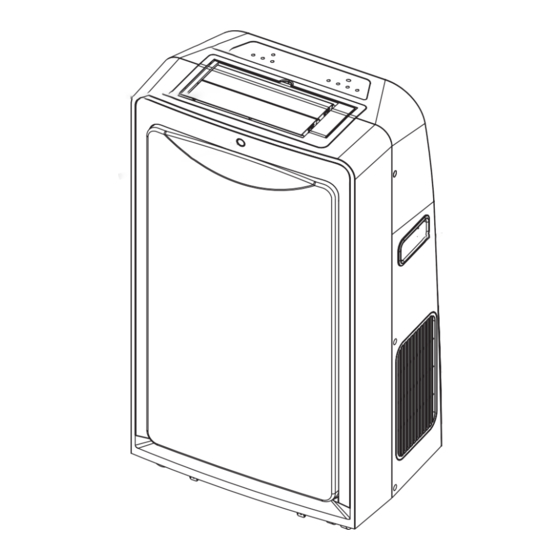
- 6. Names of Parts
- 7. Accessories
- 8. Electronic Control Operating Instructions
- 9. Operatiing Instructions
- 10. Operating Instructions
- 11. Installation Instructions
- 12. Care and Maintenance
- 13. Troubleshooting Tips
- 14. Troubleshooting
OPERATING INSTRUCTIONS
Before Starting This Unit
1) Select a suitable location, make sure you have easy access to an electrical outlet.
2) Install the Flexible Exhaust Hose and the Adjustable Window Slider Kit as depicted in Fig.1 & Fig.1a.
3) Remove the drain plug from the back of the unit and connect the drain hose, use the drain hose rubber
clip above the drain hole to fix the drain hose upward.(see Fig.2).
NOTE: Step 2 and 3 are required only while using the
4) If select Dehumifying mode, open the water filling cover, attach a section of drain hose(included with
the unit) to the connector inside the unit(see Fig.3).
5) Plug the unit into a 220-240V~50Hz/ or 115V~ 60Hz (Refer to the nameplate located on
the right side of the unit.) grounded electrical outlet.
CORD.
If it is necessary to use an extension cord with this unit, use an approved air conditioner
extension cord only.
6) Insert the power cord band into the hole in the back of the unit, and bundle up the excess cord.
7) Press the
ON/OFF
Electrical Requirement
1. All wiring must comply with local and national electrical codes and be installed by a qualified
electrician. If you have any questions regarding the following instructions, contact a qualified
electrician.
2. Check available power supply and resolve any wiring problems BEFORE installation and
operation of this unit.
3. For your safety and protection, this unit is grounded through the power cord plug when
plugged into a matching wall outlet. If you are not sure whether the wall outlets in your
home are properly grounded, please consult a qualified electrician.
4. The manufacturers nameplate is located on the right side panel of the unit and contains
electrical and other technical data specific to this unit.
5. To avoid the possibility of personal injury, always disconnect the power supply to the unit
before installing and/or servicing.
11
Fig.1
button to turn on the unit.
OPERATING INSTRUCTIONS
cooling mode .
Fig.1a
Fig.2
DO NOT USE A REGULAR EXTENSION
Fig.3