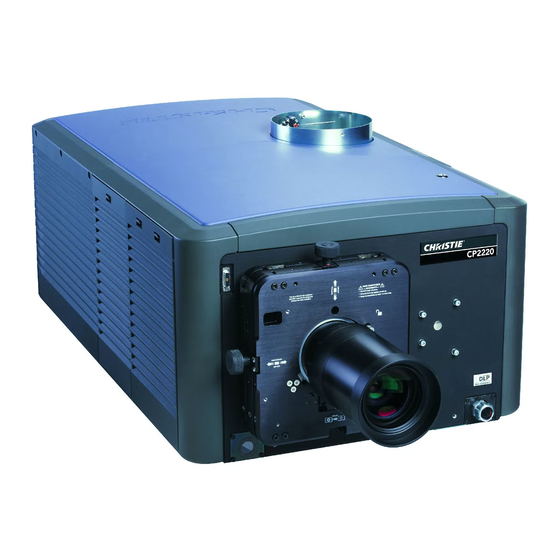
Christie CP2230 Instruction Sheet - Page 3
Browse online or download pdf Instruction Sheet for Racks & Stands Christie CP2230. Christie CP2230 9 pages. Christie rack mount pedestal
Also for Christie CP2230: Instruction Sheet (6 pages), Technical Bulletin (6 pages), Technical Bulletin (8 pages), Manual (2 pages), Installation And Setup Manual (19 pages)

4. Continue running the projector (no lamp), topping up the reservoir as you eliminate more and
more air pockets from all coolant hoses (Figure 4).
TIPS:
• Watch for air near all hose fittings.
• Tiny or large bubbles indicates air present.
Continue priming (shake hose, etc).
• Solid, opaque hoses with no bubbles indicates
system is primed and ready for use.
5. Power down. Make sure reservoir is approximately
1/2 - 3/4 full, topping up as necessary. In the
CP2000-S/-SB/-i/-h, double-check level through
the viewing gauge on the pedestal door.
6. When you are certain that all air is purged, replace
the reservoir cap, belly pan, igniter door and
projector lid.
7. Power up and test.
CP2000-M/MR
ACCESSING THE COOLING SYSTEM
1. Turn the projector lamp OFF. Wait at least 10 minutes to allow for proper cooling to take place.
2. Turn power OFF from the Control Display Panel (CDP).
3. Remove the top lid:
a. Use a #2 Phillips™ to loosen the 7 captive screws securing the top lid to the projector housing
(Figure 5).
b. Unlock the rear access door using the low security key.
c. Lift the lid up from the rear of the projector and pull it away from the 2 tabs on the front skin.
NOTE: When installing, align the front 2 tabs and reverse the above steps.
Coolant Refill Instruction Sheet
020-100686-01 Rev. 1 (03-2011)
Figure 5 Remove Top Lid
Figure 4 Check all Coolant Hoses
for Air Bubbles
3 of 9
