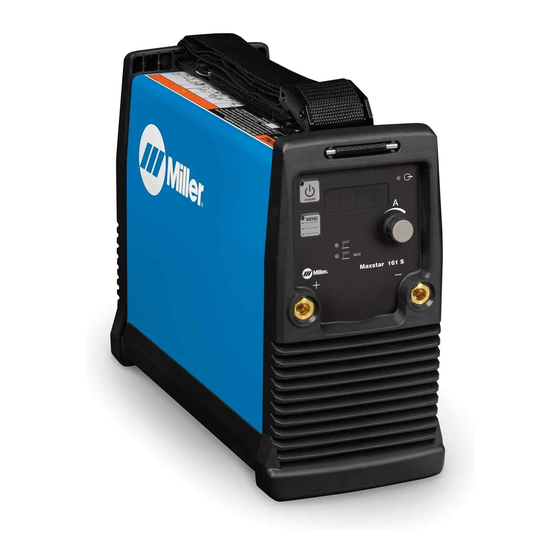
Miller Maxstar 161 S Owner's Manual - Page 28
Browse online or download pdf Owner's Manual for Welding Accessories Miller Maxstar 161 S. Miller Maxstar 161 S 44 pages. Arc welding power source with auto-line

6-5. Lift-Arc And TIG Impulse Start Procedures
1
2
.
Pictorials show Lift-Arc start method − do not
use this method for TIG Impulse starts.
6-6. Accessing Control Panel Menu: TIG−HF (STH Model Only)
1
USER
REMOTE STD
PPS
OM-275099 Page 24
.
A complete Parts List is available at www.MillerWelds.com
1 − 2
"Touch"
Seconds
Do NOT Strike Like A Match!
2
OFF
3
Trigger Mode Selection:
[REMOTE STD] Remote Standard
Typically used with a remote foot or hand control. REMOTE STD requires
a maintained contact closure to enable weld output. Amperage can be con-
trolled with a remote potentiometer, or it can be set at the control panel.
[REMOTE HOLD] Remote Hold
Remote control required. Allows the operator to weld without holding the
trigger closed. To start the weld, operator presses and releases trigger. To
stop the weld, the operator again presses and releases the trigger. In this
mode, only the output contactor is controlled by the remote control. Amper-
age must be set on the control panel.
[PPS] Pulse Control:
Reduces heat input to minimize distortion and increase travel speed. Set
PPS (pulse per second). The range is OFF−150 PPS. Background Am-
perage and Peak Amperage are not adjustable. Background Amperage
equals 25% of Peak Amperage. Peak Amperage Time equals 40%.
Lift-Arc Start
1
TIG Electrode
2
Workpiece
Touch tungsten electrode to work-
piece, hold for 1-2 seconds, slowly
lift electrode, and an arc forms.
Open-circuit voltage maybe present
before electrode touches workpiece.
TIG Impulse
High frequency starts arc when output
is enabled without making contact with
the workpiece. High frequency turns
off when arc is started.
1
Menu Button
While in the High Frequency (HF)
process, press and hold Menu but-
ton for approximately two seconds
to access Machine Configuration
menus. Use Menu button to cycle
through parameters that can be set.
2
Parameter Display
3
Encoder
Rotate Encoder to adjust parame-
ter setting.
