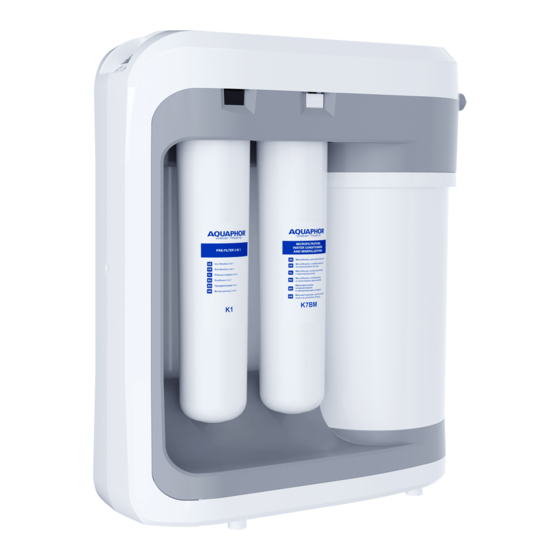
AQUAPHOR RO-202S Operation Manual - Page 9
Browse online or download pdf Operation Manual for Water Filtration Systems AQUAPHOR RO-202S. AQUAPHOR RO-202S 16 pages. Reverse osmosis system

ATTENTION! If leaks are found, immediately
turn the inlet cock of the connecting assembly
to its closed position and check the connections.
Turn the inlet cock of the connecting assembly to
its open position again to continue the flushing
procedure after the leak is repaired.
• After the flushing procedure is complete, your
RO-202S beeps 5 times and switches into the
operating mode automatically.
• Turn the inlet cock of the connecting assembly
to its closed position and wait when the
cartridge life light and sound indication turns off.
Step 4. Flushing the reverse osmosis
membrane unit
• Remove the service plug from the slot of the
reverse osmosis membrane unit and replace it
with the membrane cartridge as shown in Fig. 1
• Turn the inlet cock of the connecting assembly
to its open position. The cartridge life indicator
lights blink (the light signal is be followed by
an audible one).
• Make sure the RO-202S connections are tight.
Attention! If leaks are found, immediately turn
the inlet cock of the connecting assembly to its
closed position and check the connections. Turn
the inlet cock of the connecting assembly to its
open position again to continue the flushing
procedure after the leak is repaired.
• Wait for the water to flow from the tap for treated
water.
• Let the water through your RO-202S for 1 hour.*
• Close the treated water tap.
Step 5. Flushing the water
conditioning unit
• Fill the storage tank with water (the light and
sound indication turns off), open the tap for
treated water and wait when all the water has
drained from the storage tank (a weak water
flow from the tap).
• Close the treated water tap.
• Fill and empty the storage tank 2 more times.
• Press and hold the PUSH button for at least
7 seconds. The cartridge life light indication
changes from the flashing mode to the constant
one, and the audio signal stops.
• Make sure the RO-202S connections are tight.
* The whole flushing procedure of the membrane cartridge takes no more than 24 hours and depends on its storage and transpor-
tation conditions.
Fig. 13
Membrane
Membrane
cartridge
cartridge
Fig. 14
• Your RO-202S is ready for use once the tank
is filled.
ATTENTION! The water is not intended for drink-
ing after flushing.
Periodically check your RO-202S for leaks during
the first week of use.
Some noise may occur during the first week of
operation of your RO-202S when switching the
valve because of air released from the internal
cavities of the system. This is not a malfunction.
9
