AQUAPHOR RO-31 Owner's Manual - Page 9
Browse online or download pdf Owner's Manual for Water Filtration Systems AQUAPHOR RO-31. AQUAPHOR RO-31 12 pages. Drinking water machine
Also for AQUAPHOR RO-31: Instruction Manual (17 pages)

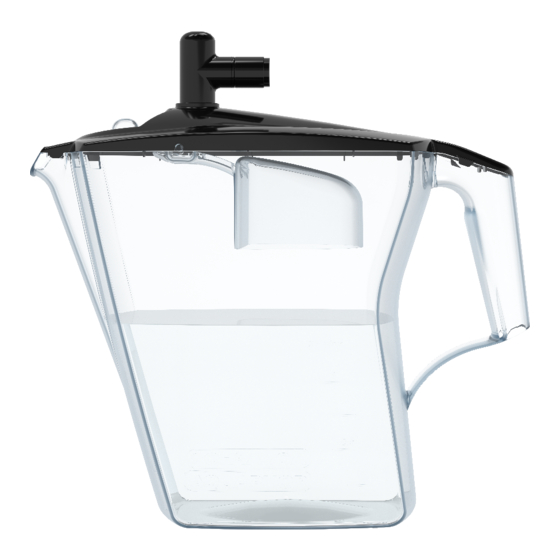
• Insert the tip into the hole of the shutoff (fig. 14a), holding it over the sink.
• Holding the tip with your hand, put the shutoff into the sink, then drain the water from the water purifier
for 20–30 minutes.
• Disconnect the tip from the shutoff by pressing the button located on the shutoff end (fig. 14b).
• Close the inlet tap.
• Place the modules in the "for operation" position (see pig. 9 "Position of the modules in the RO").
• Open the inlet tap and make sure the RO is tight.
To replace the K0-100S replacement module:
• Close the inlet tap and connect the nozzle to the storage tank to relieve the pressure.
• Pressing the lock button fully in this position, turn the used filter module clockwise and remove it.
• Remove the packaging film from the new module.
• Insert the assembled module into the collector block until it stops and, while slightly pressing, turn the
module clockwise until it clicks.
• Open the inlet tap.
• Insert the tip into the hole of the shutoff (fig. 14a), holding it over the sink
• While holding the tip with your hand, put the shutoff into the sink, then drain the water from the water
purifier for 1 hour.
• Disconnect the tip from the shutoff by pressing
the button located on the shutoff end
(fig. 14b).
• Make sure the RO is sealed.
Conditioning cartridge replacement:
• Close the inlet tap and connect the storage
tank tip to relieve the pressure.
• Disconnect the JG tube from the outlet nipple.
To do this, remove the retaining clip from
under the plastic bushing, press down on the
end of the plastic bushing and pull out the
tube.
• Disconnect the blue JG tube from the inlet
fitting. To do this, remove the retaining clip
from under the plastic bushing, press down on
the end of the plastic bushing and pull out the
tube.
• Remove the conditioning cartridge from the
bracket. To do this, grab the module and pull
it towards you.
• To install a new conditioning cartridge, follow
the same steps in reverse order. Before
installing the module, do not forget to remove
the transport plugs (see paragraph "Installing
the conditioning cartridge").
• Open the inlet tap and make sure the RO
connections are tight.
• Fill and drain the storage tank once.
After replacing the conditioning
cartridge:
Fill and drain the storage tank once.
Figure 12a
Figure 13a
Figure 14a
Figure 12b
Figure 13b
Figure 14b
9
