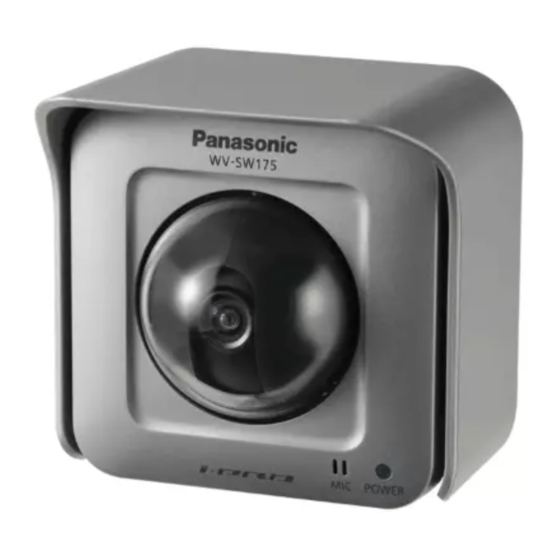
Panasonic WVNP1000 - NETWORK CAMERA Operating Instructions Manual - Page 22
Browse online or download pdf Operating Instructions Manual for Camcorder Panasonic WVNP1000 - NETWORK CAMERA. Panasonic WVNP1000 - NETWORK CAMERA 28 pages. Ip video cameras
Also for Panasonic WVNP1000 - NETWORK CAMERA: Manual (2 pages), Integration Note (8 pages)

Configure the Network Settings
Install the software
Before installing the software, read the readme file on the
provided CD-ROM first.
Software included on the provided CD-ROM
• Panasonic IP Setup Software
Configure the network settings of the camera. Refer to
the following for further information.
Configure the network settings of the camera using the Panasonic IP
setup software
The network settings of the camera can be configured using the Panasonic IP setup software.
When using multiple cameras, it is necessary to configure the network settings of each camera independently.
When the Panasonic IP setup software does not work to perform the network settings of the camera, perform the network set-
tings of the camera and the PC individually on the "Network setup" page of the setup menu. Refer to the Operating Instructions
(PDF) for further information.
Important:
• When using Windows XP SP2, the "Windows Security Alert" window may be displayed when start the IP setup software. In
this case, click the "Unblock" button on the displayed "Windows Security Alert" window.
• For the security enhancement, the Panasonic IP setup software will become inoperable when around 20 minutes have
passed after turning on the power of the camera.
Step 1
Start the Panasonic IP setup software.
Step 2
Click the [IP setting] button after selecting the MAC
address/IP address of the camera to be configured.
Note:
When using a DHCP server, the IP address assigned to
the camera can be displayed by clicking the
[REFRESH] button of the IP setup software.
22
• Viewer Software "Network Camera View2"
It is necessary to install the viewer software "Network
Camera Viewer2" to display images on a PC. Install the
viewer software by double-clicking the "Setup.exe" icon
on the provided CD-ROM.
Step 3
Complete each network setup item and click the [SET] but-
ton.
Important:
• It may take for around 30 seconds to complete to
upload the settings to the camera after clicking the
[SET] button. The settings may be invalidated when the
AC adapter or the LAN cable is disconnected before
completing the upload. In this case, perform the set-
tings again.
• When using a firewall (including software), allow access
to all UDP ports.
