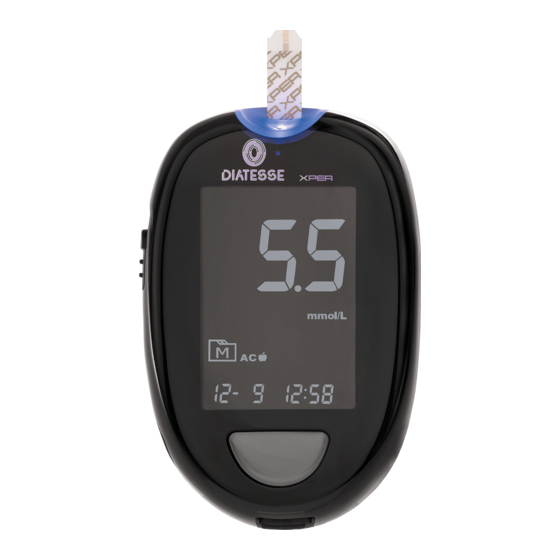
diatesse XPER TD-4289B User Manual - Page 7
Browse online or download pdf User Manual for Blood Glucose Meter diatesse XPER TD-4289B. diatesse XPER TD-4289B 15 pages. Blood glucose & ketones monitoring system

NOTE:
• For blood sugar and ketone tests
the meter will automatically recognise
a test using control solution as
a QC test.
• In order to prevent the control solution
becoming contaminated, never apply
it directly to the strip.
3. Read and compare the results
Once the countdown to 0 is completed,
the result of the test using control solution
is shown on the display. Compare the
result with the range stated on the test
strip packaging. The result must be within
this range of values. If that is not the case,
re-read the instructions and repeat the test
with control solution.
NOTE:
• The range for the control solution that
is stated on the test strip tube is only
valid when control solution is used.
It is not a recommended range for your
blood sugar levels.
• See the section under MAINTENANCE
for important information concerning
the control solution.
12
TESTING USING
BLOOD SAMPLES
WARNING:
In order to limit the chance of an infection:
• Never share a lancet or lancing device
with others.
• Always use a new sterile lancet.
Lancets are single-use only.
• Ensure that you do not get any hand
lotion, oil or residual dirt in or on the
lancets or lancing device.
Preparing the lancing device for
a blood test
Follow the instructions on the package
insert of the lancing device for drawing a
blood sample.
Preparing the puncture point
Stimulating blood perfusion by rubbing the
puncture point before taking a sample has
a major impact upon the test results. Blood
extracted from a point that you did not rub
beforehand will return a significantly different
value than a blood sample extracted from a
point you did rub in advance.
We recommend that you perform the
following steps before drawing a drop
of blood:
• Wash and dry your hands before starting.
• Select a puncture point.
• Rub the puncture point for around 20
seconds before inserting the lancet.
• Clean the puncture point with a cotton
swab moistened with a 70% alcohol
solution and allow your skin to air-dry.
• Testing using a fingertip (h)
Firmly press the lancing device against
the underneath part of your fingertip.
Press the release button to puncture your
finger and the device will click when the
procedure is complete.
NOTE:
• Every time you test, use a different
puncture point. Repeatedly puncturing
the same point can cause a sore to
form and callousing.
• We recommend that you wipe away
the first blood drop, as it could contain
tissue fluid that will affect the test results.
Performing a blood sugar test
In order to test your blood sugar levels, you
require the following: (b), (c),
(e)
and
(f)
1. Insert a test strip into the meter's
test slot to activate it
Wait until "
" and " " are displayed
on the meter.
2. Select the required meter mode
by pressing M.
3. Taking a blood sample (i)
Use the pre-set lancing device to puncture
your skin at the selected point. We
recommend that you wipe away the first
blood drop with a clean tissue/cotton
swab. The size of the blood drop must
be at least as large as (actual size), which
equals around 0.5 microliter (µI) volume
for a blood sugar test and 0.8 microliter
(µl) volume for a β-ketone test. Carefully
squeeze the area around the puncture
point to draw a further blood drop. Take
care NOT to smear out the blood sample.
4. Apply the sample to the test strip (j)
Carefully allow the test strip to come into
contact with the blood drop at an angle.
The control window of the test strip will
be sufficiently full once enough blood is
applied. Do NOT take your finger away
before the device beeps.
13
