Axis 200+ Quick Installation Manual - Page 2
Browse online or download pdf Quick Installation Manual for Server Axis 200+. Axis 200+ 6 pages. Axis communications webcam
Also for Axis 200+: Technical Specifications (2 pages)
Quick Installation Guide
This guide covers the installation and basic setup procedures for your
AXIS 200+. Should you require more detailed instructions, please
refer to the AXIS 200+ User's Manual available via the Axis WWW
Home Page at http://www.axis.com/salessupport/manuals.html, or
http://www.se.axis.com/products/documentation/manuals.html
Control Snapshot
button
Installing the
Follow these instructions to install your AXIS 200+:
1. Record the serial number of your AXIS 200+. Please note that the
serial number is identical to the Ethernet address of the unit.
2. Connect your AXIS 200+ to the network using an Ethernet
10baseT connector.
3. Connect the external power supply (Axis type PS-D), to the
AXIS 200+ and check that the Power indicator is lit.
4. Acquire an unused Internet address for your AXIS 200+.
5. Assign the Internet address to your AXIS 200+ using the method
appropriate for your network environment as detailed below:
Windows 95, Windows NT
Start a DOS window and type the following commands:
arp -s <Internet address> <Ethernet address>
ping <Internet address>
Example:
arp -s 192.168.3.191 00-40-8c-10-00-86
ping 192.168.3.191
When using the Windows 95 implementation of ARP you must
first, if you have an empty ARP table (seen with
existing unit on your network before setting the Internet address.
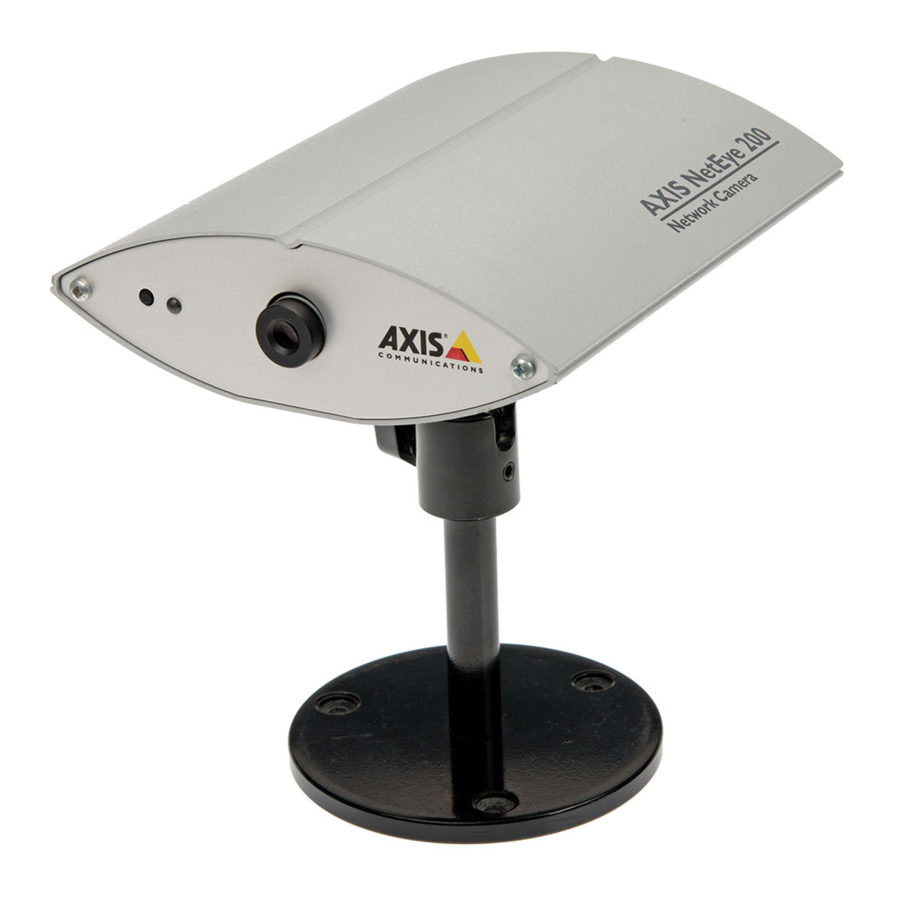
Camera lens
indicator
Front view
Power
Ethernet
supply
10baseT
AXIS 200+
CS ring
RS232 I/O
Lock ring
Net indicator
Power indicator
), ping an
arp -a