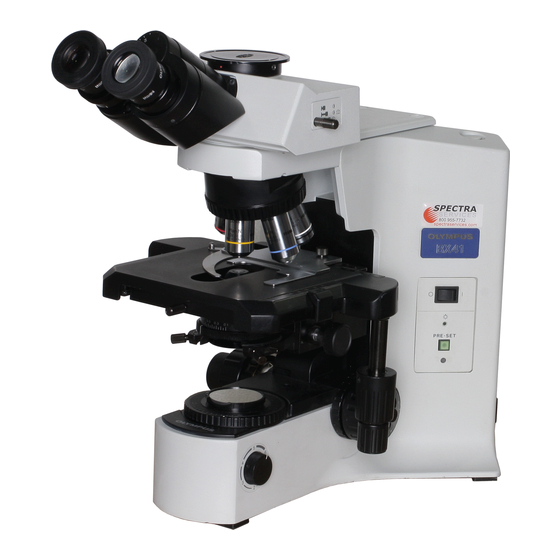
Olympus BX41 Instructions Manual - Page 9
Browse online or download pdf Instructions Manual for Microscope Olympus BX41. Olympus BX41 34 pages. System microscope
Also for Olympus BX41: Instructions Manual (36 pages)

USING THE CONTROLS
3-1 Base
²
Fig. 4
Fig. 5
@
Fig. 6
7
1
1. Turn the brightness adjustment knob @ clockwise to increase the volt-
2. The numerals ² below the knob indicate the approximate voltage.
@
2
}The light intensity preset switch @ makes it possible to limit the light
@
1. Press the light intensity preset switch @ to the ON position. (The face of
²
2. Using a small flat-blade screwdriver, turn the preset adjustment screw ²
3. When the light intensity preset switch is set to OFF, the brightness returns
}While the light intensity preset switch is ON, turning the brightness ad-
3
}You can place a filter in the light path with either method.
# Even when a filter cassette is used, a filter with thickness of no more
Voltage Indication
age and make illumination brighter.
Using the Light Intensity Preset Switch
intensity to a preselected level regardless of the position of the bright-
ness adjustment knob. The light intensity preset switch has been set to
about 4 V at the factory.
the switch lights when it is ON.)
to obtain the required light intensity. Turning the screw clockwise increases
brightness.
to the level set by the brightness adjustment knob.
justment knob does not affect brightness.
Using the Filters
· Place a filter on the filter mount on the base and engage in the light path.
· Insert a filter in the U-FC filter cassette, attach it on the filter mount and
engage it in the light path by sliding the filter level. (Page 8)
Mounting a Single Filter
A filter with a diameter of 45 mm can be placed on the filter mount on the
base. If you need to place multiple filters, please purchase the U-FC filter
cassette.
than 3 mm can still be placed on the filter mount.
(Fig. 6)
(Fig. 4)
(Fig. 5)
(Figs. 6 - 10)
(Page 7)
