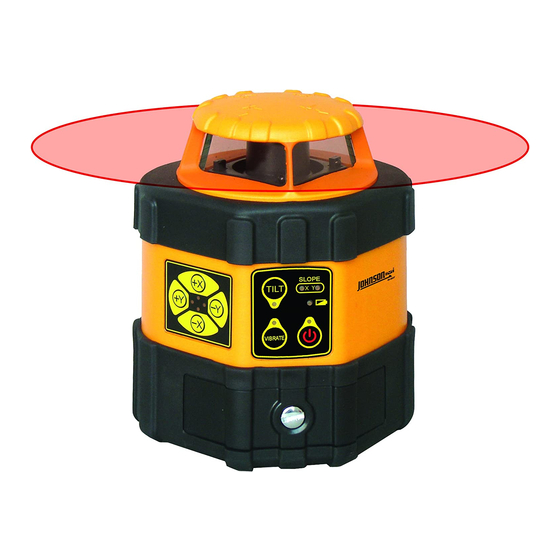
AccuLine 40-6537 Service Manual - Page 5
Browse online or download pdf Service Manual for Measuring Instruments AccuLine 40-6537. AccuLine 40-6537 15 pages. Auto-leveling rotating laser
Also for AccuLine 40-6537: Instruction Manual (18 pages)

2.4 Core Assembly (AP1956)
Item
JLT Part #
6.4.1
AP1647
M2x 5 Cross Plate Screw
6.4.2
AP1969
Rotary Head Part
6.4.3
AP1696
M2x 10 Cross Plate Screw
6.4.4
AP1970
Prism Assembly
6.4.5
AP1971
Locking Nut
6.4.6
AP1592
M3 x 4 Inner Hexagon
Tightening Screw
6.4.7
AP1972
12MM Bearing
6.4.8
AP1973
Big Gear Assembly
6.4.9
AP1449
M2.5x 6 Cross Plate Screw
6.4.10
AP1915
M2.5 Elastic Gasket
6.4.11
AP1974
Electric Motor
6.4.12
AP1975
#6 PCB
6.4.13
AP1976
Base Assembly
6.4.14
AP1977
Indicator
6.4.16
AP1978
#9 Connecting PCB
6.4.17
AP1979
M4 x 12 Inner Hex Column
Screw
6.4.18
AP1967
M4 Elastic Gasket
6.4.19
AP1980
Compression Spring
6.4.20
AP1981
Sensor Assembly
6.4.21
AP1982
Spacer
6.4.22
AP1983
Ball Gimbal Assembly
6.4.23
AP1984
M2.5 flat spacer
1.
Disassemble Ball Gimbal Assembly (6-4-22) and Compression Spring (6-4-19) by removing retaining screw (6-4-17) and
respective elastic gasket (6-4-18).
2.
Disassemble 2 Sensor assemblies (6-4-20) by removing 4 retaining screws (6-4-1).
3.
Disassemble #6 PCB (6-4-12) by removing 2 retaining screws (6-4-9).
4.
Disassemble #9 PCB (6-4-16) by removing 2 retaining screws (6-4-9).
5.
Disassemble Electric Motor (6-4-10) by removing 2 retaining screws (6-4-9), 2 elastic gaskets (6-4-10), and 2 flat spacers
(6-4-23).
6.
Disassemble Rotary Head (6-4-2) by removing 2 retaining screws (6-4-1).
7.
Disassemble Prism Assembly (6-4-4) by removing 4 retaining screws (6-4-3).
8.
Disassemble 12mm Bearing (6-4-7), Big Gear Assembly (6-4-8), and second 12mm Bearing (6-4-7) by loosening retaining
screw (6-4-6) and turning locking nut (6-4-5) counter-clockwise until it is removed.
9.
Disassemble Indicator (6-4-14) by removing 4 retaining screws (6-4-15).
Prepared By: Tim Wojo
Description
Qty
6
1
12
1
1
1
2
1
4
2
1
1
1
1
1
1
1
1
2
1
1
2
Revision - Date: 0 – 03232009
40-6537 Service Manual
Page 5 of 15
