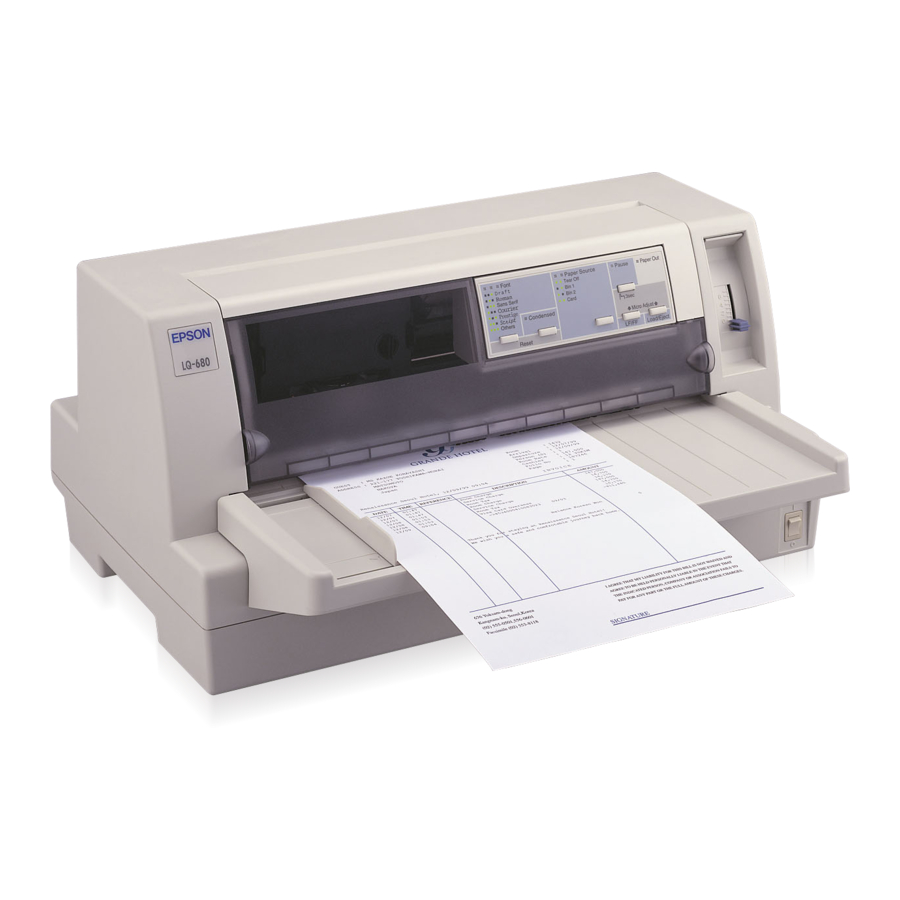
Epson 24-PIN DOT MATRIX PRINTER LQ-680PRO Setup Manual
Browse online or download pdf Setup Manual for Printer Epson 24-PIN DOT MATRIX PRINTER LQ-680PRO. Epson 24-PIN DOT MATRIX PRINTER LQ-680PRO 2 pages. 24-pin dot matrix printer
Also for Epson 24-PIN DOT MATRIX PRINTER LQ-680PRO: User Manual (22 pages), Quick Reference (12 pages), User Manual (17 pages), Specifications (2 pages), Specifications (3 pages), Reference Manual (34 pages)

24-pin Dot Matrix Printer
Setup
Unpacking the Printer
Unpacking the Printer
Unpacking the Printer
Unpacking the Printer
printer
Software CD-ROM
power cord
Assembling the Printer
Assembling the Printer
Assembling the Printer
Assembling the Printer
1. Make sure the printer is turned off and unplugged.
2. Attach the paper guide.
3. Open the printer cover.
4. The print head should be in the replacement position indicated by an indentation
in the front metal plate, as shown below.
Connecting the Printer to Your Computer
Connecting the Printer to Your Computer
Connecting the Printer to Your Computer
Connecting the Printer to Your Computer
Connecting the printer
Make sure both the printer and computer are turned off, then connect the interface
into the printer and computer.
4041764-00
xxx
paper guide
ribbon cartridge
Setup Guide
Notice sheet
Cautions and Notes
c
Cautions
must be observed to avoid damage
to your equipment.
Remove the protective materials
Follow the directions on the Notice Sheet to remove the protective materials.
Save all packing and protective materials in case you need to ship the printer in the
future.
5. Turn the ribbon-tightening knob on the ribbon cartridge in the direction of the arrow
to take up any slack in the ribbon.
6. Hold the ribbon cartridge with the exposed ribbon down and the ribbon-tightening
knob facing you, and guide the ribbon under the print head. Then snap the
cartridge into place so that the tabs on both sides of the cartridge fit into the
notches in the cartridge holder.
7. Hold the ribbon cartridge by its handle and push it firmly down into position; then
press on both ends of the cartridge to make sure the plastic hooks fit into the slots.
8. Turn the ribbon-tightening knob again to remove any slack in the ribbon and to
make sure the ribbon moves freely.
9. Close the printer cover.
Plugging in the printer
1. Make sure the printer is turned off.
2. If the power code is not attached to the printer, plug the appropriate end into the
AC inlet on the back of the printer.
3. Plug the power code into a properly grounded electrical outlet.
Notes
contain important information and useful tips on
the operation of your printer.
