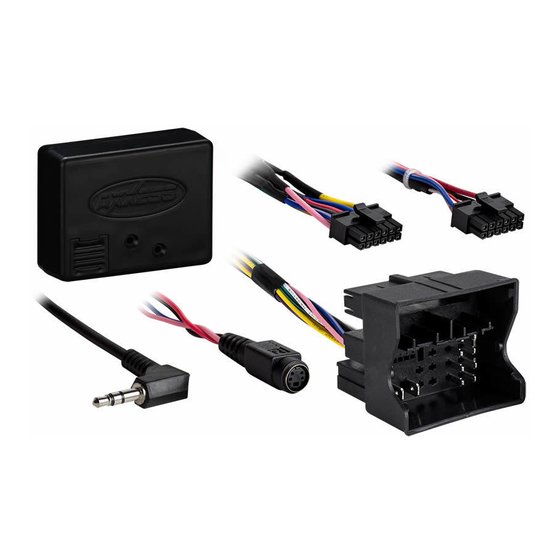
Axxess XSVI-9006-NAV Installation Instructions Manual - Page 2
Browse online or download pdf Installation Instructions Manual for Recording Equipment Axxess XSVI-9006-NAV. Axxess XSVI-9006-NAV 8 pages. Volkswagen data interface 2015-up

From the XSVI-9006-NAV harness to the aftermarket radio:
• Connect the Black wire to the ground wire.
• Connect the Yellow wire to the battery wire.
• Connect the Red wire to the accessory wire.
• If the aftermarket radio has an illumination wire, connect the Orange wire to it.
• Tape off and disregard the Blue/White wire, it will not be used in this application.
• Connect the Gray wire to the right front positive speaker output.
• Connect the Gray/Black wire to the right front negative speaker output.
• Connect the White wire to the left front positive speaker output.
• Connect the White/Black wire to the left front negative speaker output.
• Connect the Green wire to the radio's left rear positive speaker output.
• Connect the Green/Black wire to the radio's left rear negative speaker output.
• Connect the Purple wire to the radio's right rear positive speaker output.
• Connect the Purple/Black wire to the radio's right rear negative speaker output.
2
CONNECTIONS
The following (3) wires are for aftermarket multimedia/navigation radios that provide these
wires (if not required, tape them off and disregard them).
• Connect the Light Green wire to the parking brake wire.
• Connect the Blue/Pink wire to the VSS or speed sense wire.
• Connect the Green/Purple wire to the reverse wire.
• If retaining the factory backup camera, connect the Yellow RCA jack to the backup camera input.
12-pin ASWC-1 harness & 3.5mm jack:
The 12-pin ASWC-1 harness & 3.5mm jack are to be used with an ASWC-1 (sold separately) to
retain steering wheel audio controls. If the ASWC-1 is not being used, disregard this harness
and 3.5mm jack. If it is to be used, please refer to the ASWC-1 instructions for radio connections
and programming. Disregard the harness that comes with the ASWC-1.
DIN Connector:
The DIN plug is to be connected to the optional AX-LCD screen (sold separately) to retain the
personalization menu that is lost when removing the factory radio.
