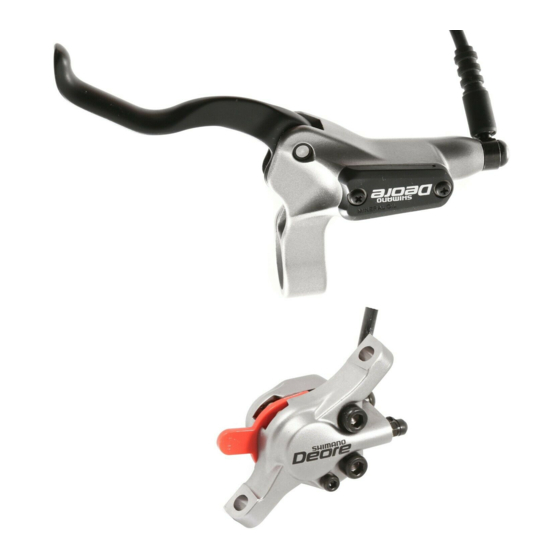
Shimano BR-M965 Service Manual - Page 15
Browse online or download pdf Service Manual for Bicycle Accessories Shimano BR-M965. Shimano BR-M965 41 pages. Disc brake systems

Replacement
of the brake
lever unit
Hydraulic
Cable type
Disc Brake
Disc Brake
I Secure the hose with plastic ties or similar so that the hose does not
stick out from the bicycle frame. If the hose is not secured correctly
and sticks out, it may get caught on
parts such as bushes during riding,
which may result in damage to the hose
or it might cause the bicycle to fall over.
Hydraulic
Disc Brake
I When opening and closing the bleed
nipple, use a socket wrench so as not
to damage the head of the bolt.
Hydraulic
Disc Brake
I When removing the diaphragm inside the reservoir tank, keep the
diaphragm clean at all times and be careful not to let any foreign
particles get onto it. If the diaphragm is dirty when it is installed, it
may cause problems with the operation of the brakes. If the
diaphragm is dirty, make sure that it is fully cleaned before it is
installed.
Hydraulic
Cable type
Disc Brake
Disc Brake
I If using shims to provisionally secure the calipers during installation,
be sure to only tighten the bolts to the specified torque.
The caliper holding force will be sufficient even if all of the supplied
shims are used to eliminate any interference between the pads and
the rotor.
< M965 / M755-DH >
I Use a wire to secure the caliper fixing bolt in order to prevent the
bolt from loosening.
< BL-M755 >
1 Remove the lever shaft fixing bolt from the brake lever.
(Turn counterclockwise using a 2 mm Allen key.)
2 Remove the lever shaft.
3 Use a 2 mm Allen key to turn the reach
adjustment bolt clockwise in order to
remove the lever.
4 Install by carrying out the removal procedure in
reverse. Make sure that the installation direction
of the lever shaft is correct.
14
Reach
adjustment bolt
2 mm Allen key
Lever shaft
Lever shaft
fixing bolt
2 mm
Allen key
