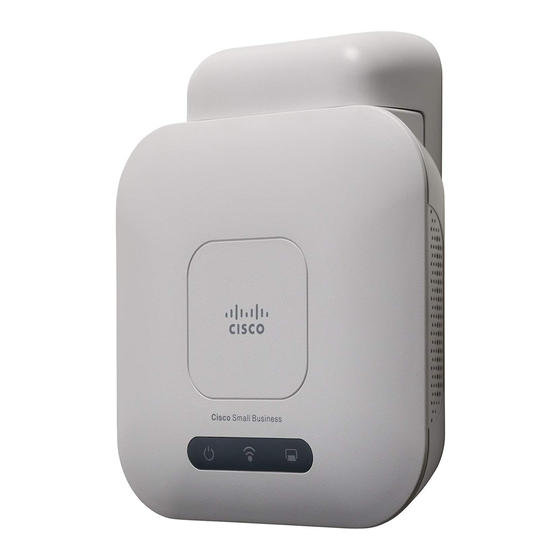
Cisco WAP361 Quick Start Manual - Page 12
Browse online or download pdf Quick Start Manual for Wireless Access Point Cisco WAP361. Cisco WAP361 17 pages. Reboot and reset to factory default settings
Also for Cisco WAP361: Manual (4 pages)

If it fails, you should get a reply similar to the following:
Pinging 192.0.2.10 with 32 bytes of data:
Request timed out.
Possible Cause of Installation Failure
No Power
Power up the switch and your computer if they are turned off.
Make sure that your PoE switch is powered on and the lights indicate that
you have a link. See
"Verifying the Hardware
Installation".
Verify that the devices on your network are not plugged into a switchable
outlet.
Bad Ethernet Connection
Check the state of the indicator lights. See
"Verifying the Hardware
Installation".
Check the Ethernet cable to ensure that it is firmly connected to your
devices. Devices connected by the Ethernet cable can include the WAP
devices, and routers, any switches, and your computer.
Verify the connected switch has auto-negotiation enabled. The Cisco
WAP361 and the switch need the same negotiation parameters set.
Bad Image
After a new firmware installation, if the POWER light is solid red, which
indicates that the device fails to boot with both firmware images, contact
system support; see
"Where to Go From
Here".
Incorrect IP Address
The most likely cause of connectivity failure is an incorrect IP address. The
Web browser may be pointing to the wrong IP address, or your computer
may be configured with an IP address that is not in the same subnet as the
Cisco WAP361.
Because the factory default IP address configuration is DHCP, make sure
that your DHCP server is running and can be reached. You may need to
disconnect and reconnect the devices for them to discover their new IP
addresses from the DHCP server. You can then query the DHCP server for
the new IP address. See
Step 2
of
"Getting Started with the
Configuration"
for more information on how to find the DHCP address.
12
Cisco WAP361 Quick Start Guide
