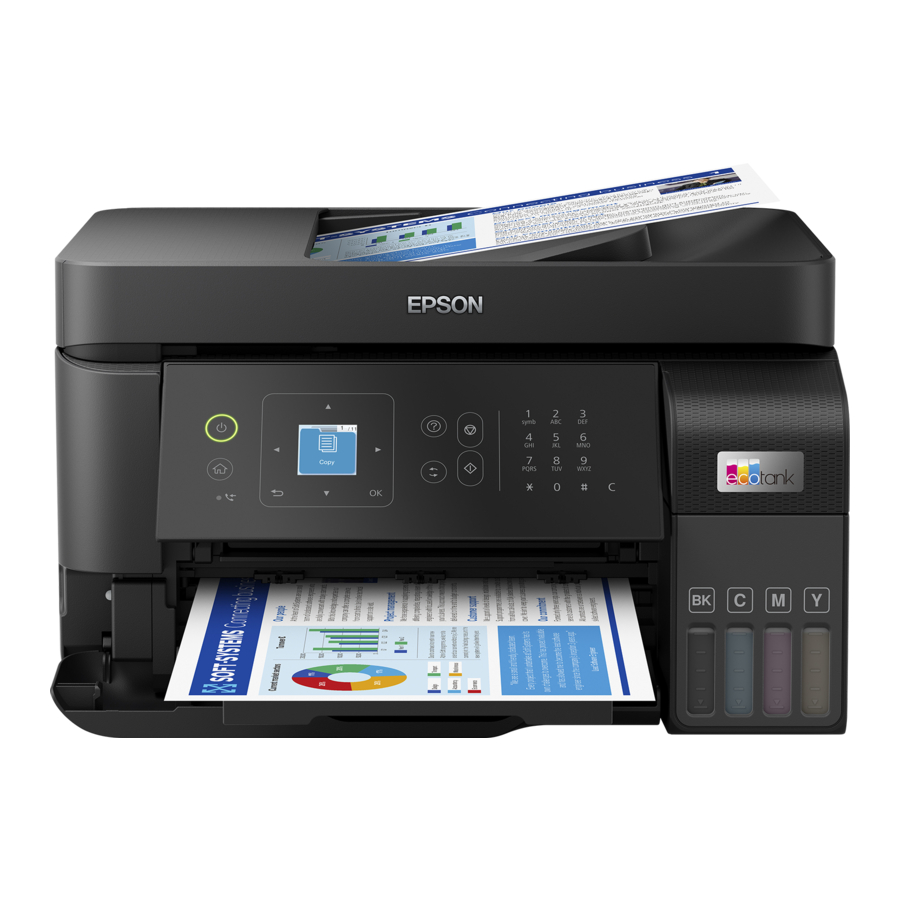
Epson ET-4810 Series Start Here - Page 3
Browse online or download pdf Start Here for All in One Printer Epson ET-4810 Series. Epson ET-4810 Series 4 pages.

15
Follow the on-screen instructions to adjust the print
quality of your product.
Note:
• You need to load paper before you can adjust the print quality.
See "Load paper" on this sheet for details.
• Select Adjust Later if you want to adjust the print quality later.
For more information, see the online User's Guide.
After setup, periodically inspect the ink levels to ensure they
Caution:
do not fall below the
lowest lines on the tanks. Prolonged use when
any ink level is below the lowest line could damage the product. See
the online User's Guide for refilling instructions.
4
Load paper
See the online User's Guide for information about loading
capacity, available paper types and sizes, loading envelopes,
and using the ADF.
1
Make sure the product is done charging the ink. Then
raise the paper support and tilt it backwards slightly.
2
Slide the edge guides all the
way out.
3
Load paper, glossy or
printable side up and short
edge first, in the middle of
the rear paper feeder.
Do not load paper above the line under the
Note:
the edge guide.
4
Slide the edge guides against
the paper, but not too tightly.
5
Open the front cover.
6
Pull out the output tray and raise
the paper stopper.
7
Select the paper settings on the product's control panel.
5
Connect the fax line
1
Connect a phone cord to a telephone wall jack and to the
LINE port on your product. See the online User's Guide
for more information.
2
Press the OK button to set up the fax, or press the
# pound button to set it up later.
6
Install software
Note:
• An Internet connection is required to obtain the product software.
• To print from a Chromebook™, go to
http://epson.com/support/chromebookprint (U.S.) or
http://epson.ca/support/chromebookprint (Canada) for
instructions.
1
Make sure the product is NOT CONNECTED to your
computer.
Windows
Cancel and disconnect the USB cable.
2
Download and run your product's software package. For
the latest software, visit:
http://epson.com/support/et4810 (U.S.) or
http://epson.ca/support/et4810 (Canada).
3
Follow the instructions on the computer screen to run the
setup program.
4
When you see the Select Your Connection screen, select
one of the following and follow the on-screen instructions:
•
symbol on
•
•
Mobile and voice-activated
printing
Print directly from your Android™ (v4.4 or later) device*.
•
Simply connect your printer and device to the same network
and tap the menu icon to select the print option.
•
Turn your mobile device into an intuitive, easy-to-use
printing and scanning control center with Epson Smart
Panel. Download the app from your mobile device's app
store.
Print remotely with Epson Connect™. See your
•
online User's Guide for instructions or learn more at
http://epson.com/connect (U.S.) or
http://epson.ca/connect (Canada).
If you see a Found New Hardware screen, click
:
®
Wireless connection
In most cases, the software installer automatically
attempts to set up your wireless connection. If setup
is unsuccessful, you may need to enter your network
name (SSID) and password.
Direct USB connection
Make sure you have a USB cable (not included).
Wired network connection
Make sure you have an Ethernet cable (not included).
