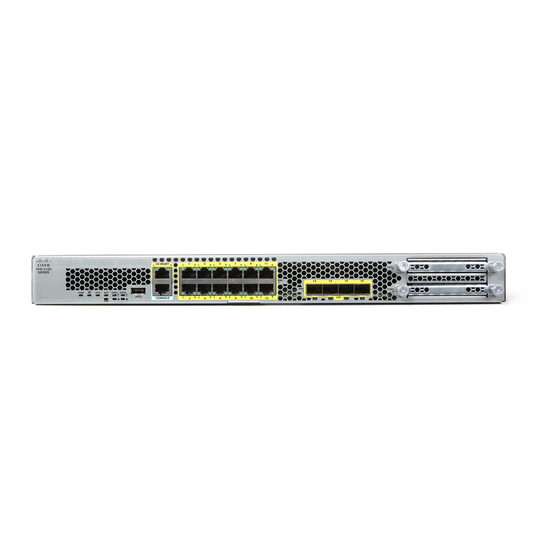
Cisco Firepower 2120 Manual - Page 8
Browse online or download pdf Manual for Network Hardware Cisco Firepower 2120. Cisco Firepower 2120 12 pages. Rack-mount and ground the chassis
Also for Cisco Firepower 2120: Deployment Manual (8 pages), Getting Started (42 pages)

Rack-Mount the Chassis Using Slide Rails
Step 4
Open the front securing plate on both slide-rail assemblies. The front end of the slide-rail assembly has a spring-loaded
securing plate that must be open before you can insert the mounting pegs into the rack-post holes.
On the outside of the assembly, push the green arrow button toward the rear to open the securing plate.
Figure 7: Front Securing Mechanism Inside the Front End
1
Front mounting pegs
Works with square slots, 7.1 mm holes, and
Note
10-32 threaded holes.
3
Rack post
Step 5
Install the slide rails into the rack:
a) Align one slide-rail assembly front end with the front rack-post holes that you want to use.
The slide rail front-end wraps around the outside of the rack post and the mounting pegs enter the rack-post holes
from the outside-front.
Note
The rack post must be between the mounting pegs and the open securing plate.
b) Push the mounting pegs into the rack-post holes from the outside-front.
c) Press the securing plate release button marked 'PUSH.' The spring-loaded securing plate closes to lock the pegs in
place.
d) Adjust the slide-rail length, and then push the rear mounting pegs into the corresponding rear rack-post holes. The
slide rail must be level front-to-rear.
The rear mounting pegs enter the rear rack-post holes from the inside of the rack post.
e) Attach the second slide-rail assembly to the opposite side of the rack. Make sure that the two slide-rail assemblies
are at the same height with each other and are level front-to-back.
f) Pull the inner slide rails on each assembly out toward the rack front until they hit the internal stops and lock in place.
Step 6
Insert the chassis into the slide rails.
a) Align the rear of the inner rails that are attached to the chassis sides with the front ends of the empty slide rails on
the rack.
b) Push the inner rails into the slide rails on the rack until they stop at the internal stops.
Rack-Mount and Ground the Chassis
8
Rack-Mount and Ground the Chassis
2
Securing plate shown pulled back to open position
—
