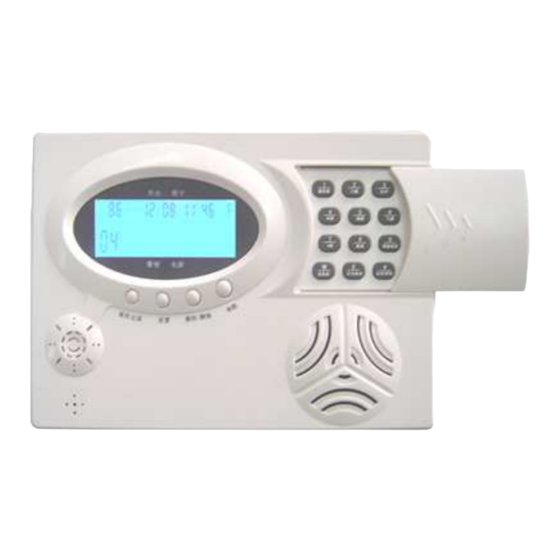
ARGSeguridad ZDAS-300 User Manual - Page 13
Browse online or download pdf User Manual for Security System ARGSeguridad ZDAS-300. ARGSeguridad ZDAS-300 16 pages. Luxury voiced lcd alarm system

If no further actions take place the panel will automatically return to normal state after
approximately 30 seconds. Otherwise at the end, press the ESC on the keypad or the Dis-Arm
key on a registered Key Fob to return the panel to normal state.Entry Delay timer:Designated
entry points ( i.e. front door and may be back door ) are subject to an Entry Delay Time any
where from 1 to 255 seconds depending on time selected when configuring the system.
This delay provides a user with enough time to enter the armed premises and disarm the
system before an alarm is triggered.
How To Set Entry Delay Timer: Press the PROG key on the keypad, a series of - - - will
appear on the LCD. Press the Disarm key on any current registered Key Fob or entering the
preprogrammed PIN code, and the word 'Sensor' will appear on the LCD. Pressing the # key
on the Keypad, the LCD will show the words 'SYS config'. Press 0 then 2 on the numeric
Keypad. 02 will appear in the top left hand corner of the LCD ( refer to section 3. 9 for the
configuration codes). Enter the required entry time using the configuration code,the selected
code will be displayed in the bottom right hand corner of the LCD. Press PROG to store this
number.
If no further actions take place the panel will automatically return to normal state after
approximately 30 seconds. Otherwise at the end, press Dis-Arm key on a registered Key Fob
to return the panel to normal state.
3.15 Sounder cut off time
The sounder cut off time is the time permitted for the sounder to sound when an alarm
activation takes place. This can be from 1 to 1980 seconds, or do not stop until the C.s or user
confirm it, depending on time selected when configuring the system.
Setting the sounder cut off time: Press the PROG key on the Keypad, a series of - - - will
appear on the LCD. Press the Disarm key on any current registered Key Fob or entering the
preprogrammed PIN code, then the word 'Sensor' will appear on the LCD. Pressing the # key
on the Keypad, the LCD will show the words 'SYS config'. Press 0 then 3 on the numeric
Keypad. 03 will appear in the top left hand corner of the LCD (refer to section 3.9 for the
configuration codes). Enter the required cut off time using the configuration code. The
selected code will be displayed in the bottom right hand corner of the LCD. Press PROG to
store this number.
17
How to allocate and set zones: Press the PROG key on the Keypad, a series of - - - will
appear on the LCD. Press the Disarm key on any current registered Key Fob or entering the
preprogrammed PIN code, and the word 'Sensor' will appear on the LCD. Pressing the * key
on the Keypad, the LCD will show the words 'Zone type', pressing No1 to 8 numeric key to
select corresponding zone, then pressing the 0 or 1 numeric Keypad to configure all the
fields in this zone. At the end, press the PROG key to complete and save operation.
By way of example, below is configured as follows:
Zone 7 selected is a Watchdog Zone programmed without entry or exit time, it's a 24
hour .
Zone with silent when alarming, its an internal detector and there are sensors allocated
to it.
Zone 7 selected
M
SET
TYPE
1
1:watchdog zone
1
1:exit delay
2
1:entry delay
3
4
1:24 hours zone
1:sounder when alarming
5
6
1:armed zone
7
1:sensor in the zone
Figure 10: zone type configuration
D
H
M
D
7
2
3
4
5
6
0:not a watchdog zone
0:no exit delay
0:no entry delay
0:not 24 hours zone
0:silent when alarming
0:part armed zone
0:no sensor in the zone (disabled)
10
