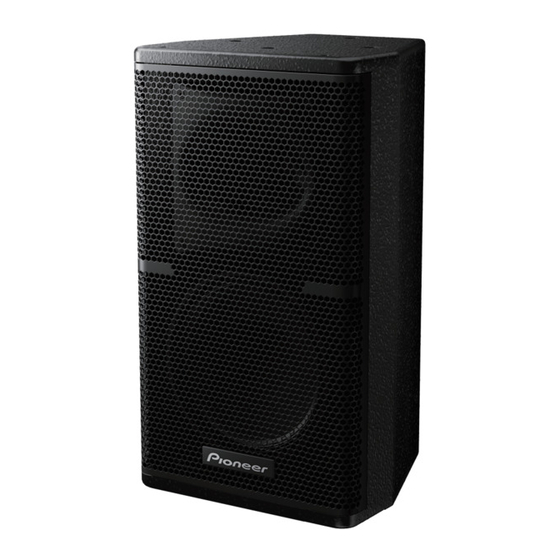
Pioneer XY-81 User Manual - Page 8
Browse online or download pdf User Manual for Speaker System Pioneer XY-81. Pioneer XY-81 12 pages. 8″ two way
Also for Pioneer XY-81: User Manual (12 pages)

Attachment of the CP-XY8HC1 Horizontal Flying Cradle
Attachment of wall mount brackets
! Four holes (M6) for wall mount brackets are provided on the rear of the XY-81.
! Hole layout (pitch): 108 mm × 50.8 mm (4.0" × 2.0")
! Be sure to use wall mount brackets that have enough strength to be able to withstand the weight of the XY-81.
To rotate the HF waveguide
1
Using a 3 mm Allen key, unscrew the four M4 screws in the top and bottom of the enclosure (2 at each end). Gently remove the grille from the front of the enclosure.
2
Using a 4 mm Allen key, remove the four socket-head bolts retaining the HF waveguide in place.
3
Lift the waveguide up and rotate to the desired position.
4
Reinstate the socket-head bolts and retighten. Avoid over-tightening as this may crack the waveguide.
5
Reinstate the grille by gently placing it in place over the front of the loudspeaker. Replace the four M4 machine screws to secure it in place.
8
Engb
Using the supplied M8 countersunk socket head bolts, align the mounting holes in
the end mounts of the yoke with the mounting points on the top and the bottom of
the enclosure. Tighten the bolts to ensure a solid fit. Once the desired angle of the
loudspeaker is set, tighten the knobs on the cradle to lock the position in place. The
points on the top of the flying cradle can be used for permanent installations or to
secure a hook clamp. Ensure that an M8 eyebolt is secured to the top point on the
XY-81 enclosure to use as a secondary safety feature.
