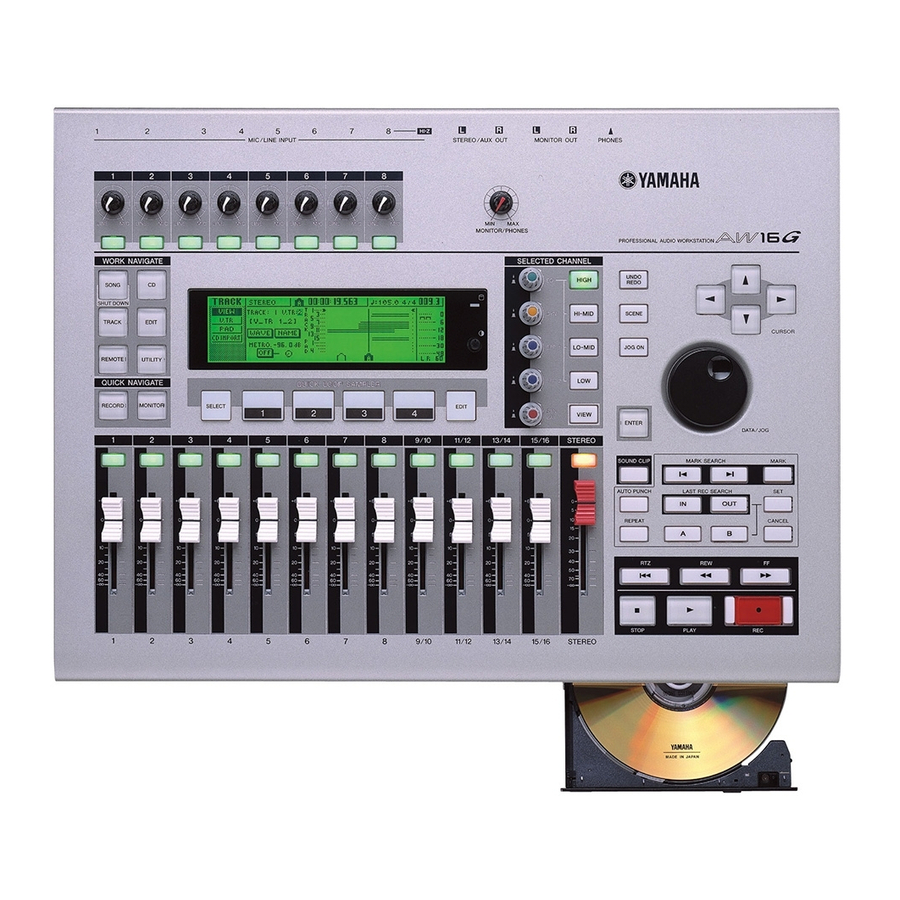
Yamaha AW16G Recording 101 Owner's Manual - Page 16
Browse online or download pdf Owner's Manual for Musical Instrument Yamaha AW16G Recording 101. Yamaha AW16G Recording 101 27 pages. Professional audio workstation

Setting the Basic Levels
A basic starting point in the mixdown process is to first set the levels for all
of the individual tracks.
1.
Lower all of the faders to infinity (all of the way down).
2.
Raise the stereo fader to the 0 position (all of the way up).
3.
Press the [VIEW] key until the
METER page is displayed. This
will aid in setting the individual
levels.
Tip: Setting the meters to be post instead of pre will allow you to view the levels after the
fader, the EQ, and dynamics processors. This is a better setting for mixdown than
4.
Start with the drum tracks (or rhythm tracks) and raise the faders until the
L R meters read around -12 to -6 dB. When you are finished, the overall
mix should be as close to 0 dB as possible without going over. By setting
the drums to read around -12 to -6 dB you are allowing headroom. As you
bring up the level of the other tracks, the level of the L R meters will
increase.
5.
Next, raise the fader of the bass tracks until you achieve a good balance
between the bass and drum tracks.
6.
After the raising the fader for the bass track, raise the faders of the rhythm
instruments. This would include guitars, keyboards, percussion, etc.
Raise the faders to the position that give you a good balance between all
of the instruments.
7.
Finally, raise the faders of any vocal tracks to the desired listening level.
The L R meters should now read around the 0 dB mark. If the meters are
consistently going above the 0 dB mark or you hear distortion lower each
individual fader until the L R meters read close to 0 dB. It is better to
lower the individual faders than to lower the stereo fader.
13
pre.
