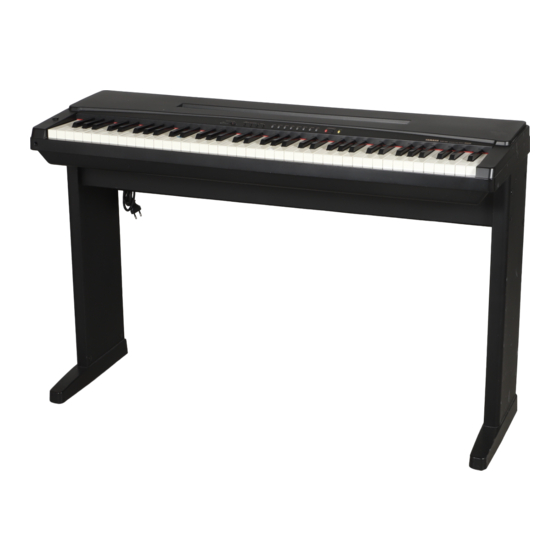
Yamaha YPP-50 Owner's Manual - Page 4
Browse online or download pdf Owner's Manual for Musical Instrument Yamaha YPP-50. Yamaha YPP-50 20 pages. Yamaha personal electronic piano owner's manual

KEYBOARD STAND ASSEMBLY
NOTE: Although the YPP-50 keyboard stand can be assembled
by a single person, the job is much easier with two people.
Open the box and remove all the parts.
On opening the box you should find the parts shown in the
illustration. Check to make sure that all the required parts, are
provided.
Invert the main unit (A).
When main unit (A) is removed from the box, place it upside-
down on a soft, non-abrasive surface such as a clean rug or
blanket to prevent scratches to the finish. This inverted posi-
tion makes it easier to attach the assembled keyboard stand
later on.
Attach the side panels (D) to the front (B) and
rear (C) panels.
Begin by installing the joint connectors in the front (B) and rear
(C) panels as shown in the illustration. The front and rear panels
(the rear panel is the wider one) are attached between the side
panels (D) using two long bolts at each end. The sides of the
side panels (D) with the recesses at the top face inwards; the
direction in which the feet extend from the side panels is the
"front" (the direction the keyboard faces). The metal brackets
on the front (B) and rear (C) panels face upwards and inwards.
Attach the first panel loosely so that the second panel slides
into position easily, then attach the second panel and finally
tighten all eight bolts. When the assembly is complete and the
bolts are securely tightened, snap the eight plastic bolt covers
into place over the bolt heads.
When installing the joint connectors in the holes in the panels,
l
make sure that the arrows printed on their upper surface face
in the direction shown in the illustration.
2
