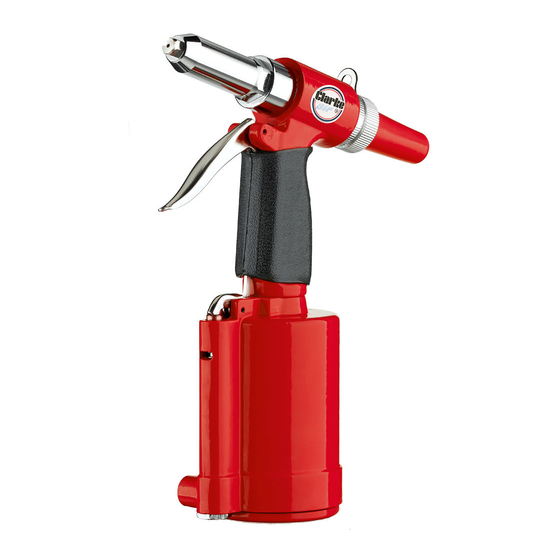
Clarke CAT151 Operating & Maintenance Instructions - Page 9
Browse online or download pdf Operating & Maintenance Instructions for Tools Clarke CAT151. Clarke CAT151 17 pages. Air/hydraulic riveter

5. Turn the compressor back on and set the regulator to 6.3 to 7 bar. Do not
exceed this pressure.
6. Your air riveter is now ready for use.
• You can fit a whip hose with a quick fit coupling if required
(available from your Clarke dealer).
OPERATION
WARNING: ALWAYS FIT THE SAFETY CAP TO THE REAR OF THE FRAME
BEFORE USE TO PREVENT INJURY FROM EJECTED RIVET STEMS. FIT WITH THE
SLOT FACING DOWNWARDS SO THAT THE STEMS FALL TO THE FLOOR.
1. Select the nosepiece to suit the rivet size and fit it to the head using the
spanner.
2. Insert the rivet stem fully through the nosepiece and into the jaws.
3. Press the rivet body through the pre-drilled hole in the workpiece and hold
the rivet flange flush against the workpiece. Always take care to drill the
holes with the same size drill bit as the rivets to be used.
4. Squeeze the trigger.
• The rivet will be compressed and the rivet stem will be ejected into
the safety cap from where they can be collected for disposal.
DISCONNECTING THE AIR SUPPLY
1. Do not disconnect the air supply hose until the compressor has been shut
down and the compressed air released.
2. Squeeze the trigger to discharge any compressed air from the riveter.
3. Once the pressure has been released, disconnect the air supply hose from
the air tool.
4. Store the tool safely in its box in a dry, secure environment.
Parts & Service: 020 8988 7400 / E-mail: [email protected] or [email protected]
9
