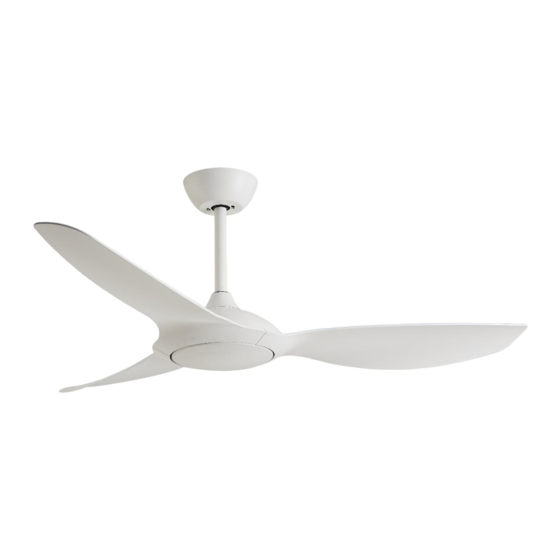
Claro GLIDER DC Installation Manual - Page 12
Browse online or download pdf Installation Manual for Fan Claro GLIDER DC. Claro GLIDER DC 17 pages.

MODELS WITH LIGHT:
a. Remove the 3 screws on light kit fixing plate.
b. Align the light kit with screw holes on light kit fixing plate, and secure it with the 3 screws.
c. Connect light plug.
d. Align groove in the diffuser with the ridge in the light kit and twist the diffuser clockwise until it is
secure. IMPORTANT: DO NOT overturn.
a
c
REVERSE FUNCTION:
The "Summer/Winter" reverse function is included in the remote control to make the fan rotate in
an anti-clockwise direction during summer.
In winter, this can be reversed, so that the blades now move in a clockwise direction.
CARE & CLEANING:
• Periodic cleaning (approximately 6 months) of your ceiling fan is the only maintenance required.
• Use a soft brush or lint free cloth to avoid scratching the finish. Please turn off electricity when you
do so.
• Do not use water when cleaning your ceiling fan. It could damage the motor or the wooden blades
and create the possibility of an electrical shock.
• The motor has a permanently lubricated ball bearing and as such, is maintenance free.
NOISE:
The manufacturer warranty covers actual faults that may develop, but NOT minor complaints, e.g.
motor operation noise - ALL ELECTRIC MOTORS ARE AUDIBLE TO SOME EXTENT; this is more
obvious when the fan is operating at low speeds.
b
d
11
