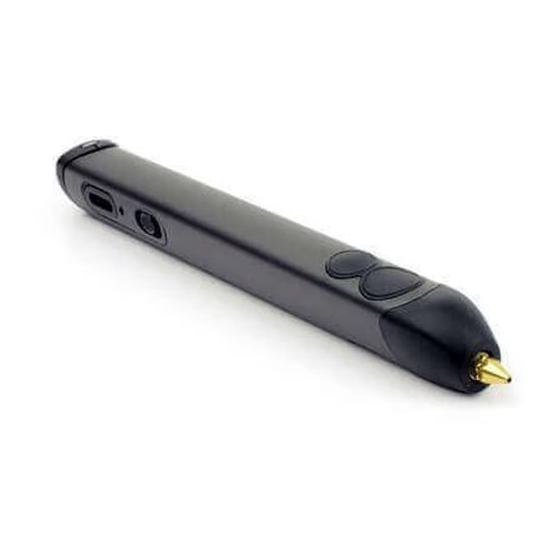
3Doodler 2.0 User Manual - Page 8
Browse online or download pdf User Manual for Accessories 3Doodler 2.0. 3Doodler 2.0 10 pages.
Also for 3Doodler 2.0: Quick Start Manual (2 pages), Manual (4 pages)

4. Turn the pen off and allow it to cool down a little, but not fully.
Screw the nozzle on clockwise a few turns, but don't tighten it yet.
Turn the pen back on; once it's hot and the LED is either blue or
green, tighten the nozzle with the nozzle removal tool, stopping
when you first feel resistance. WARNING: DO NOT force the
nozzle or overtighten it, as you could irreparably damage your
3Doodler.
5. If you are still experiencing problems extruding or suspect there
may be a blockage in your 3Doodler, please remove the
Maintenance Cover
•
Ensure the LED light is BLUE or GREEN before starting this
process (indicating that the pen is hot)
•
Using metallic tweezers, lever up the two release hooks on
either side of the Maintenance Cover
7
•
Remove the Maintenance Cover by hand
•
Ensuring that the LED light is still BLUE or GREEN, use your
tweezers to grip and pull the plastic/filament away from the
nozzle of the pen, towards the back of the pen. Once loose,
and the end of the plastic/filament is visible inside the opening
of the pen, simply pull the plastic/filament out of the opening
using your tweezers
•
Replace the Maintenance Cover by inserting the latched
as follows:
7
Plastic/filament
8
