ClearView POWER SLIDE Assembly Instructions Manual - Page 10
Browse online or download pdf Assembly Instructions Manual for Automobile Accessories ClearView POWER SLIDE. ClearView POWER SLIDE 16 pages.

Assembly Instructions
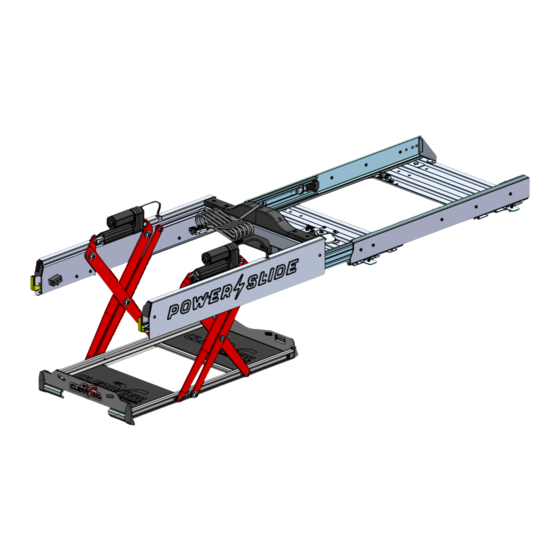
Aligning and Securing the Actuators
Align the actuators, then locate your clevis pin through the inner side and then push the clevis
pin through the inner hole provided.
Repeat this for the following side (Refer images 1 & 2)
Then secure the clevis pins with the clevis clips, attaching the clip from the outer side (Refer
image 3)
Once the Clevis clips are secure, you will need to cycle the Power Slide™ until the actuators
reach their home position.
Removing the Actuator ramp
Use a 5mm Allen key to undo the actuator ramps from the outside.
Gently remove the actuator ramps on both sides.
NB: Actuator ramps can be kept in box or discarded as they are only required for safe
transporting and flat packing of the Power Slide™.
You can now mount and secure the Power Slide™ into your vehicle if you haven't already
assembled this inside the vehicle prior.
10
1
clearviewaccessories.com.au
2
3
