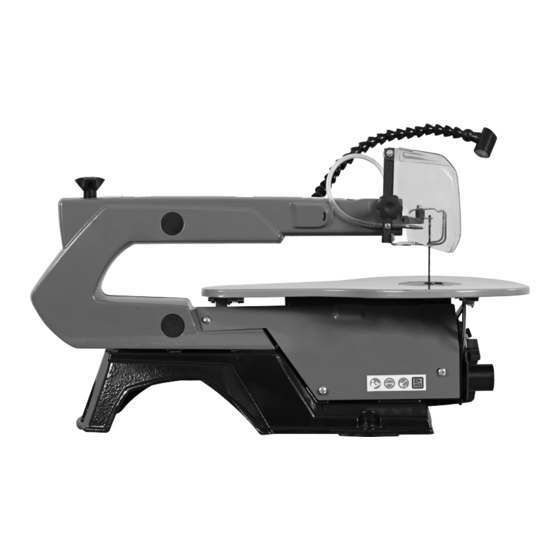
djm direct DJMSS406 Operating Manual - Page 8
Browse online or download pdf Operating Manual for Saw djm direct DJMSS406. djm direct DJMSS406 19 pages. Scroll saw

10. Operation
Mounting the machine on a work bench
A workbench made from solid wood is better than
one made of plywood, as interfering vibrations
and noise are more noticeable with plywood.
The necessary tools and small parts for assembling
the saw on a workbench are not supplied with
the saw. However, use equipment of at least the
following:
1. Machine
2. Bolt M8 (×3)
3. Flat Washer Ø8 (×3)
4. Rubber Pad
5. Work Table
6. Big Flat Washer Ø8 (×3)
7. Lock Washer Ø8 (×3)
8. Nut M8 (×3)
First of all, drill holes into the seating surface
and then Insert the screws.
A foam rubber base for reduction of noise is
not supplied with the saw either. However, we
expressly recommend that you use such a base to
keep vibration and noise to a minimum. Ideal size
400 × 240 mm.
11. Setting the Saw Bench
• Release the star button and bring the saw
bench to a right angle in relation to the saw blade.
Use a 90° angle L-square measure the right angle
between the blade and the bench. The saw blade
be at 90° to the angle.
• Close the star button when the distance
between the blade and the 90° angle is at a
minimum. The bench should then be at 90° to the
saw blade.
Setting the angle scale
• Release the lock screw and bring the indicator
to the zero position. Fasten the screw.
Please note: the angle scale is a useful piece of
supplementary equipment, but should not be
used for precision work. Use scrap wood for saw
tests, adjust the bench if necessary.
Horizontal Saw Bench and Diagonal Cuts
The saw bench can be positioned into a 45°
diagonal position or be left in the horizontal
position.
You can read off the approximate slope angle
by using the angle scale located under the work
bench. For more exact adjustment, use scrap
wood for some saw tests; adjust the bench if
necessary.
7
