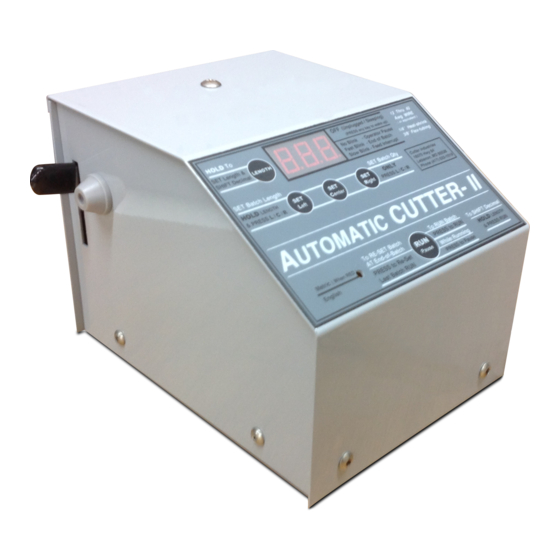
Cutter Industries Automatic Cutter III Setup Manual
Browse online or download pdf Setup Manual for Cutter Cutter Industries Automatic Cutter III. Cutter Industries Automatic Cutter III 2 pages.

Troubleshooting
Always disconnect from power source when troubleshooting!
REASON
Material not cutting off cleanly/completely
Dull or damaged cut-blade
Loose shoulder-bolt holding top of
cut-blade
Foreign material in solenoid-arm is
shortening blade travel
Material not feeding properly
Flattened width of material greater
than feed system or incoming material
obstructed
Drive-roller knurling filled with foreign
material
Cut-blade not returning to neutral
position
Motor not turning
Tension arm not holding material
against drive-roller
Tension arm roller not turning freely.
End-of-spool material left between
drive-roller & exit
Inlet feed-guide not in place with small
material
Copyright © 2016 Cutter Industries, Inc. All rights reserved. Operational software manufactured by Cutter
Industries, Inc. is protected by the copyright laws of the United States. ©1998, 1999, 2000, 2005, 2008, 2015.
SOLUTION
Sharpen or replace cut-blade. (See
Change Cut-Blade in Setup Guide.)
Adjust shoulder-bolt. (See Cut-Blade
Adjustment in Setup Guide.)
Remove exit-side cover (See Internal
Access in Setup Guide). Clear material
from solenoid-arm.
Remove covers (See Internal Access in
Setup Guide). If possible, remove the
obstruction.
Clean knurls with steel brush, through
inlet hole.
Adjust cut-blade. (See Cut-Blade
Adjustment in Setup Guide.)
Remove covers (See Internal Access in
Setup Guide.) and clear fan obstruction.
Replace/strengthen tension arm spring.
Requires factory adjustment/
replacement
Remove material through Exit side, with
needle-nose pliers.
Adjust feed-guide as necessary.
Automatic Cutter II & III
Set-up Guide
Automatic Cutter II
Wire 12 to 40 AWG
Tubing to 3/8" OD (Heat Shrink to 1/4" OD)
Automatic Cutter III
Wire 10 to 18 AWG
Tubing to 1/2" OD (Heat Shrink to 5/16" OD)
Cutter Industries Inc.
417-533-1019
AutomaticWireCutter.com
