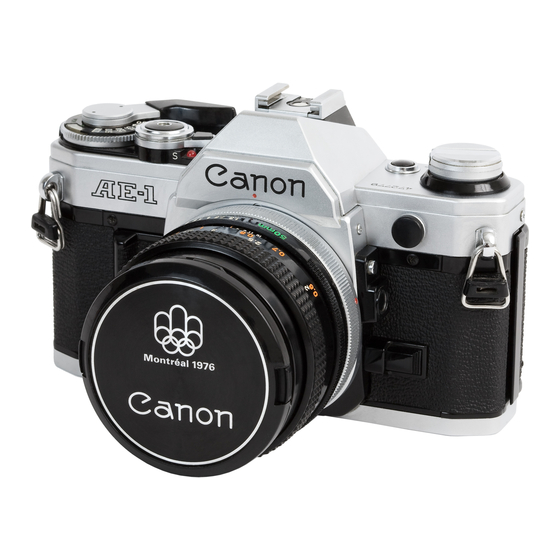
Canon AE-1 Handmatig - Pagina 8
Blader online of download pdf Handmatig voor {categorie_naam} Canon AE-1. Canon AE-1 42 pagina's.
Ook voor Canon AE-1: Aan de slag (2 pagina's), Gebruiksaanwijzing (22 pagina's), Handleiding voor installatieprocedures (48 pagina's), Handmatig (12 pagina's), Gebruiksaanwijzing (22 pagina's)

The advantage of having an interchangeable lens ability is the large collection of used
FD Lenses The theoretically long lasting and "wearless" breech-locked mount FD lenses are
one of the key outcome of the application in first rated electronics technology in the field of
optics. Their image sharpness and color reproduction abilities are of extremely high standard.
Canon offered a full array of interchangeable lenses ranging from the 7.5mm fisheye to the
1200mm super telephoto, totaling as many as 55 lenses including the special purpose lenses
up to the time when the whole line-up was slated for discontinuation. That was another reason
why the AE-1 was so successful commercially, as the general public was able to experience
the thrill and excitement of lens interchangeability in SLR photography. But as a new user to
SLR photography, if you have little intention to upgrade, the 'abandoned' FD lens-based SLR
camera like the AE-1, with the huge pool of resources available in the used market presents a
really attractive alternative if your budget is tight. But if you intend to grow with the system
and migrated to autofocus or action related photography in the future, I do have a little
reservation to invest into the manual focus FD system. But as I said, photography is not all
about autofocus and the medium is not as economical and regarded as an cheap 'hobby' as
compared with the early days of manual focus photography, the AE-1 still possesses some
charm that can be considered as a good and logical entry.
If you have owned or purchase a AE-1, these are few essential but relatively easy steps for
you to setup your camera to take pictures (Section one for the camera, section two when you
are using it with flash and lastly, with a auto film advance device like the dedicated Auto
Winder). If you intend to understand more about the details, please read through the whole
site for other related content to fully explore the potential this camera can offer you.
Basic Setup Steps for Camera Operations
1.Set the aperture ring of the lens to the"A" mark.
2. Load the battery.
3. Load the film.
4. Set the ASA film speed.
Select a shutter speed.
5. Look into the viewfinder Compose the picture and focus.
6. Advance film; Check exposure. Press the shutter button.
