Canon XL 1 Gebruikershandleiding - Pagina 2
Blader online of download pdf Gebruikershandleiding voor {categorie_naam} Canon XL 1. Canon XL 1 26 pagina's. Camcorder
Ook voor Canon XL 1: Brochure (8 pagina's), Specificaties (1 pagina's), Instructies (2 pagina's), Brochure & specificaties (8 pagina's), Gebruikershandleiding (9 pagina's), Handmatig (9 pagina's)
Canon XL1 Manual
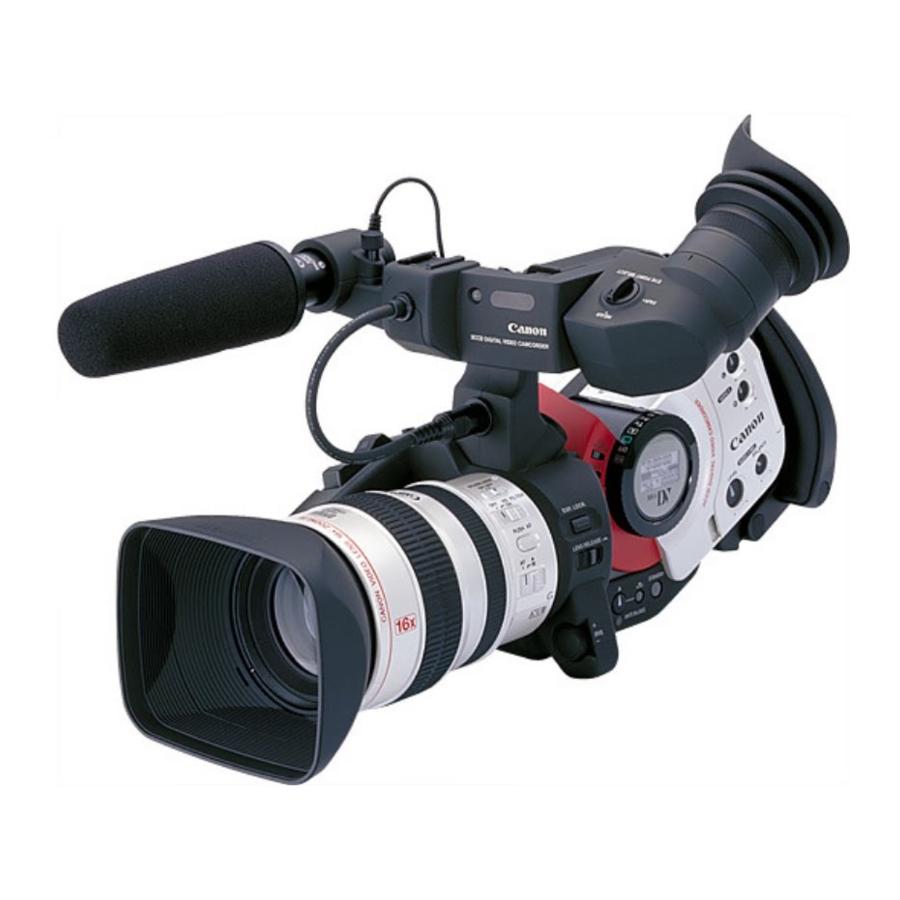
• Mounting and removing XL lenses
Mounting
1. Remove the dust cap from the lens and the body cap from the camcorder.
2. Align the red dot on the camera body with the mount positioning point (the red dot)
on the lens, then turn the lens clockwise until it clicks and locks into place.
Removing
1. Slide and hold the LENS RELEASE switch and turn the lens counter-clockwise
until it stops. Then, remove the lens from the camera body.
2. When you are not using the lens or camera, be sure to replace the dust cap and body
cap.
Attaching the lens hood
1. Remove the lens cap.
2. Align the hood with the lens lengthways, and the Canon logo facing to the left.
3. Twist it 90° into position (clockwise), so that the Canon logo is to the top.
• You do not need to assert any pressure — screw the hood lightly into place.
4. Finally, tighten the locking screw.
• To remove, reverse the above procedure.
• Attaching the studio microphone
1. Loosen the microphone attachment screw on the viewfinder unit and insert the
microphone into the microphone clamp.
2. Align the mark on the microphone with the mark on the clamp and tighten the
screw to hold the microphone firmly in place.
3. Plug the microphone cable to the camera's MIC terminals.
NB: Make sure that the camera is turned off before attaching or removing the
microphone cable.
2