AstroJet AJ-140 Snelstarthandleiding - Pagina 3
Blader online of download pdf Snelstarthandleiding voor {categorie_naam} AstroJet AJ-140. AstroJet AJ-140 4 pagina's.

Step 5
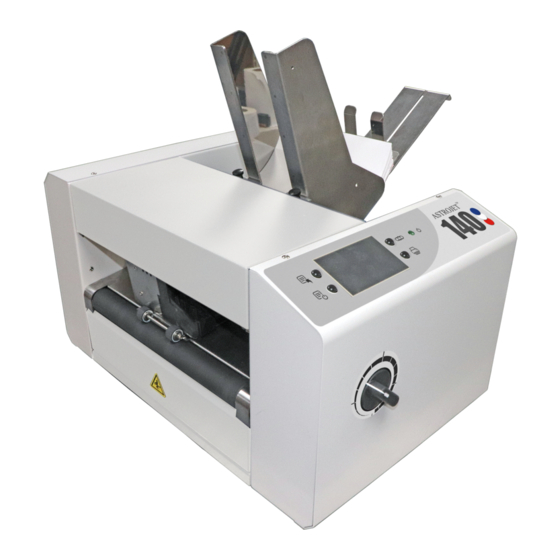
Setting Up Feed
Printer has four Sheet Separators, two Side Guides, and
a Rear Media Support and Guide.
Adjust Sheet Separators individually:
1. Release Separator Locking Levers (located on
operator's side of Feeder), raise Separators and
lock in position. Move Side Guides to outermost
open position. Place one piece of media in
center of Feed Table.
2. Four Separators on Feeder. Use two Center
Separators for narrow media and all four
Separators for wide media. Place media under
Separators and lower Separators onto media.
3. Rotate Locking Lever up to lock Separators
in place.
4. Loosen knobs on Side Guides. Adjust Side
Guides to within 1/32" of media. Tighten knobs.
5. Adjust Rear Guide so media is raised
approximately 1/2" and rests on curve of Rear
Guide. When running 10" or longer or heavy
media Rear Guide may have to be set so it just
touches back of media.
6. Positioning Cartridge Printheads: Adjust
positioning of Printhead Cartridge Assembly by
loosening locking screw [D]. Slide Assembly as
needed to print on media being used.
7. Turn Printer ON. Turn Media Thickness Knob
[A] fully counterclockwise to raise the Printhead
to its highest position.
Place a piece of media [B] under the Printhead
Carriage. Adjust the Media Thickness Knob
clockwise until the Printhead Carriage just
touches the media.
Turn Media Thickness Knob counterclockwise
until media [
Carriage with a slight pull.
NOTE: These are initial settings.
It may be necessary to adjust the Media
Thickness Control to optimize print quality.
8. Test feed media by pressing "Test Feed" on the
Quick Menu Touchscreen.
Page 3
B] can be pulled from under Print
